One Room Challenge: Week 4 - Board and Batten
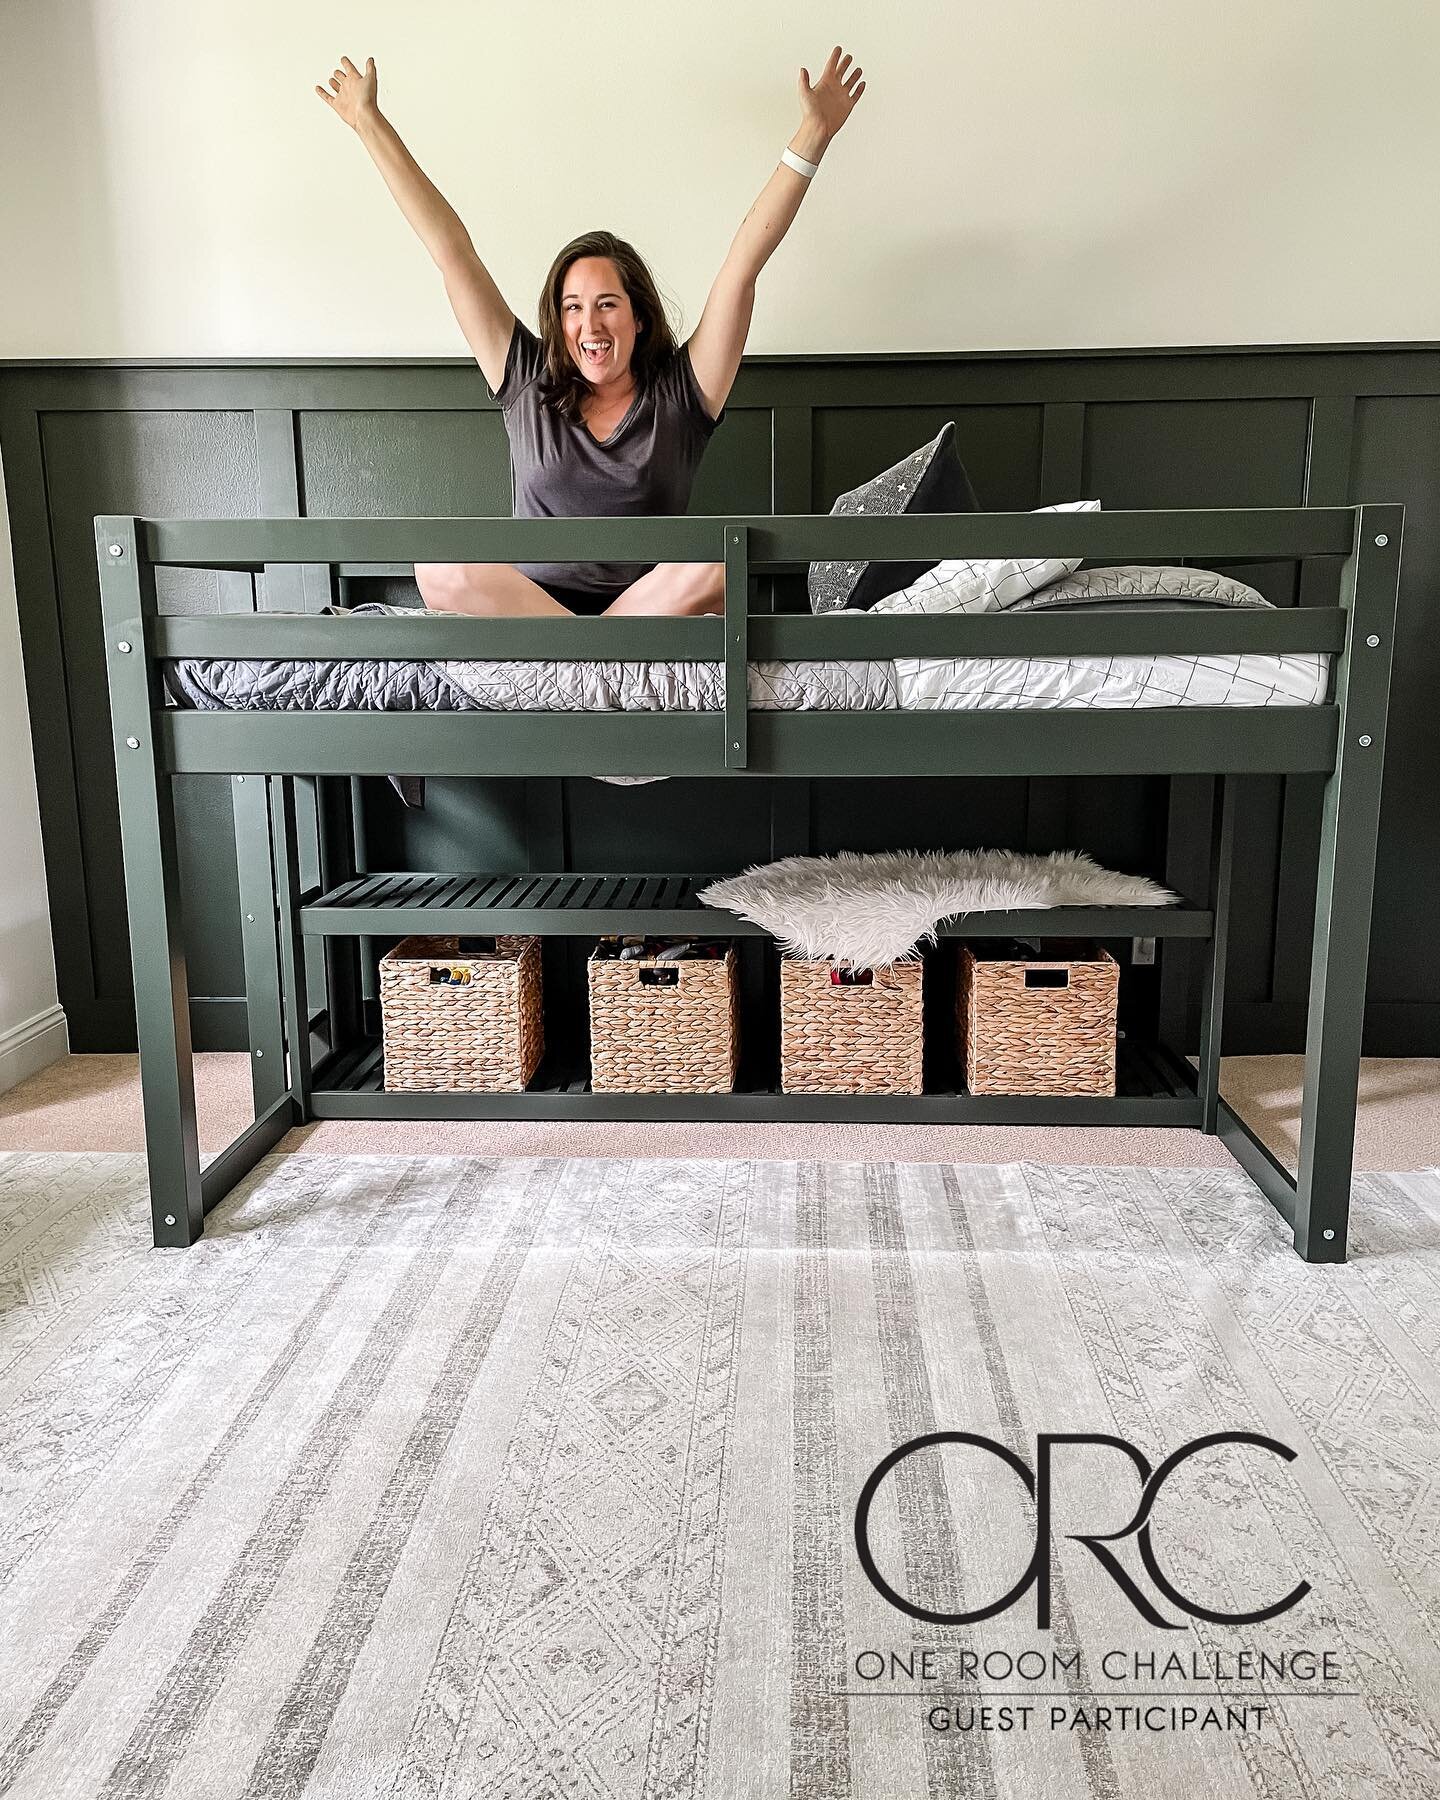
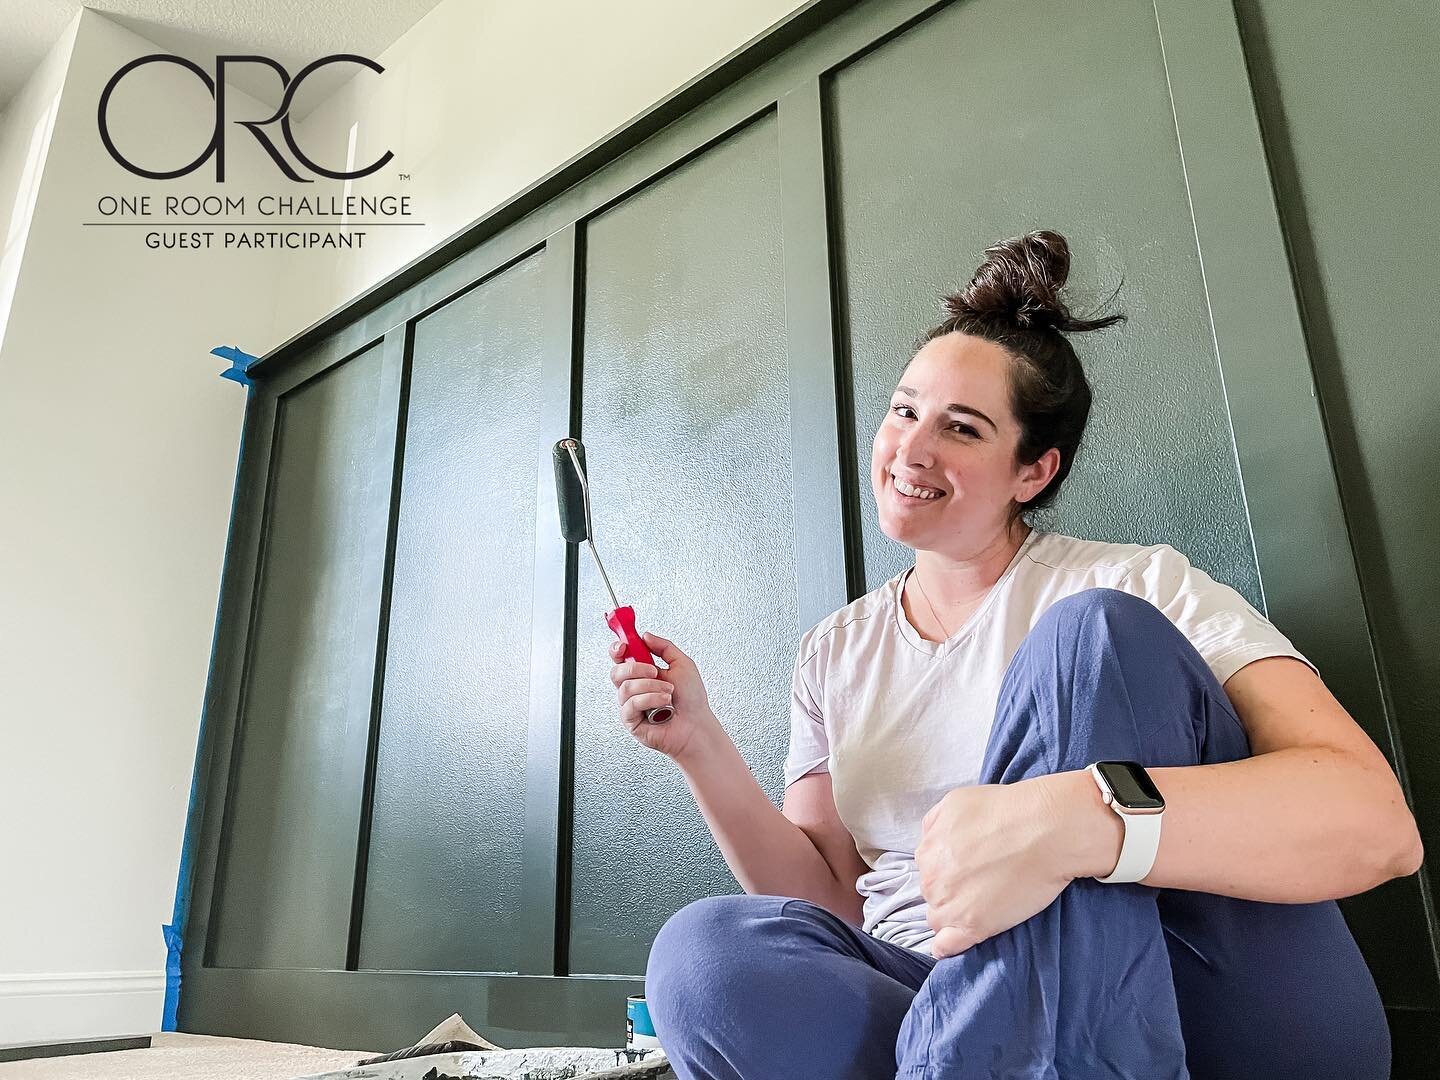
Wow, we’re half way through the One Room Challenge and these 4 weeks have flown by! This was the week where I had my “what have I done?” moment. Inevitably, when one room is being painted the rest of the house somehow stops functioning as well as it usually does. There are pieces of the new bed in our laundry room, paint cans and tools on our kitchen counters, and twice as many toys as usual in Chloe’s room - all without a home. I knew it was time to finish the board and batten project this week because I need to be able to start putting Aaron’s room back together for my own sanity!

Here’s what we used to create the board and batten:
Nail gun and nails
Paintable caulking
Wood filler
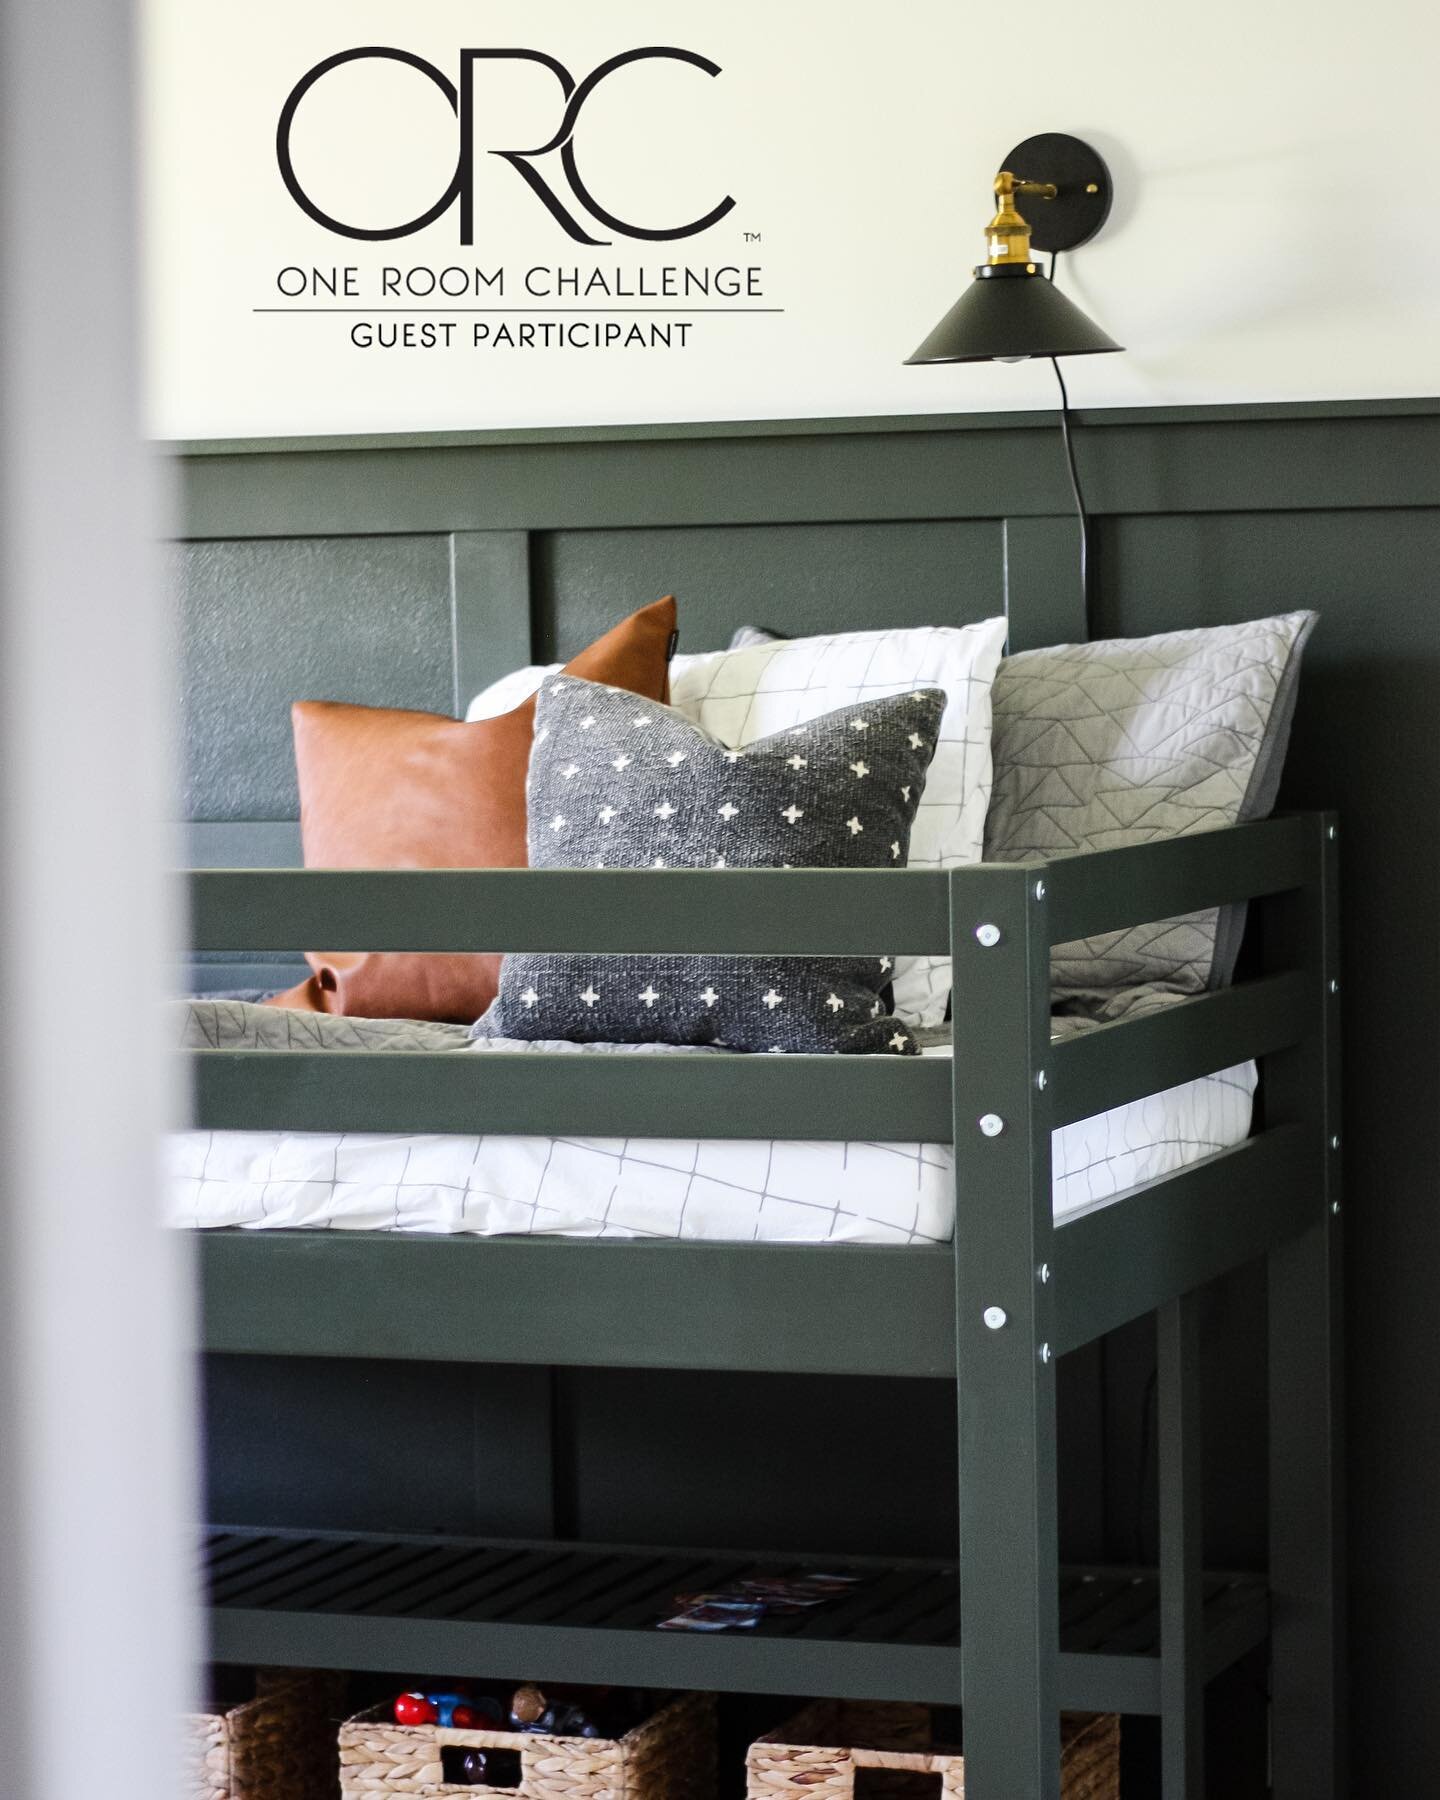
1 Gal Paint - Ripe Olive by Sherwin Williams in satin finish
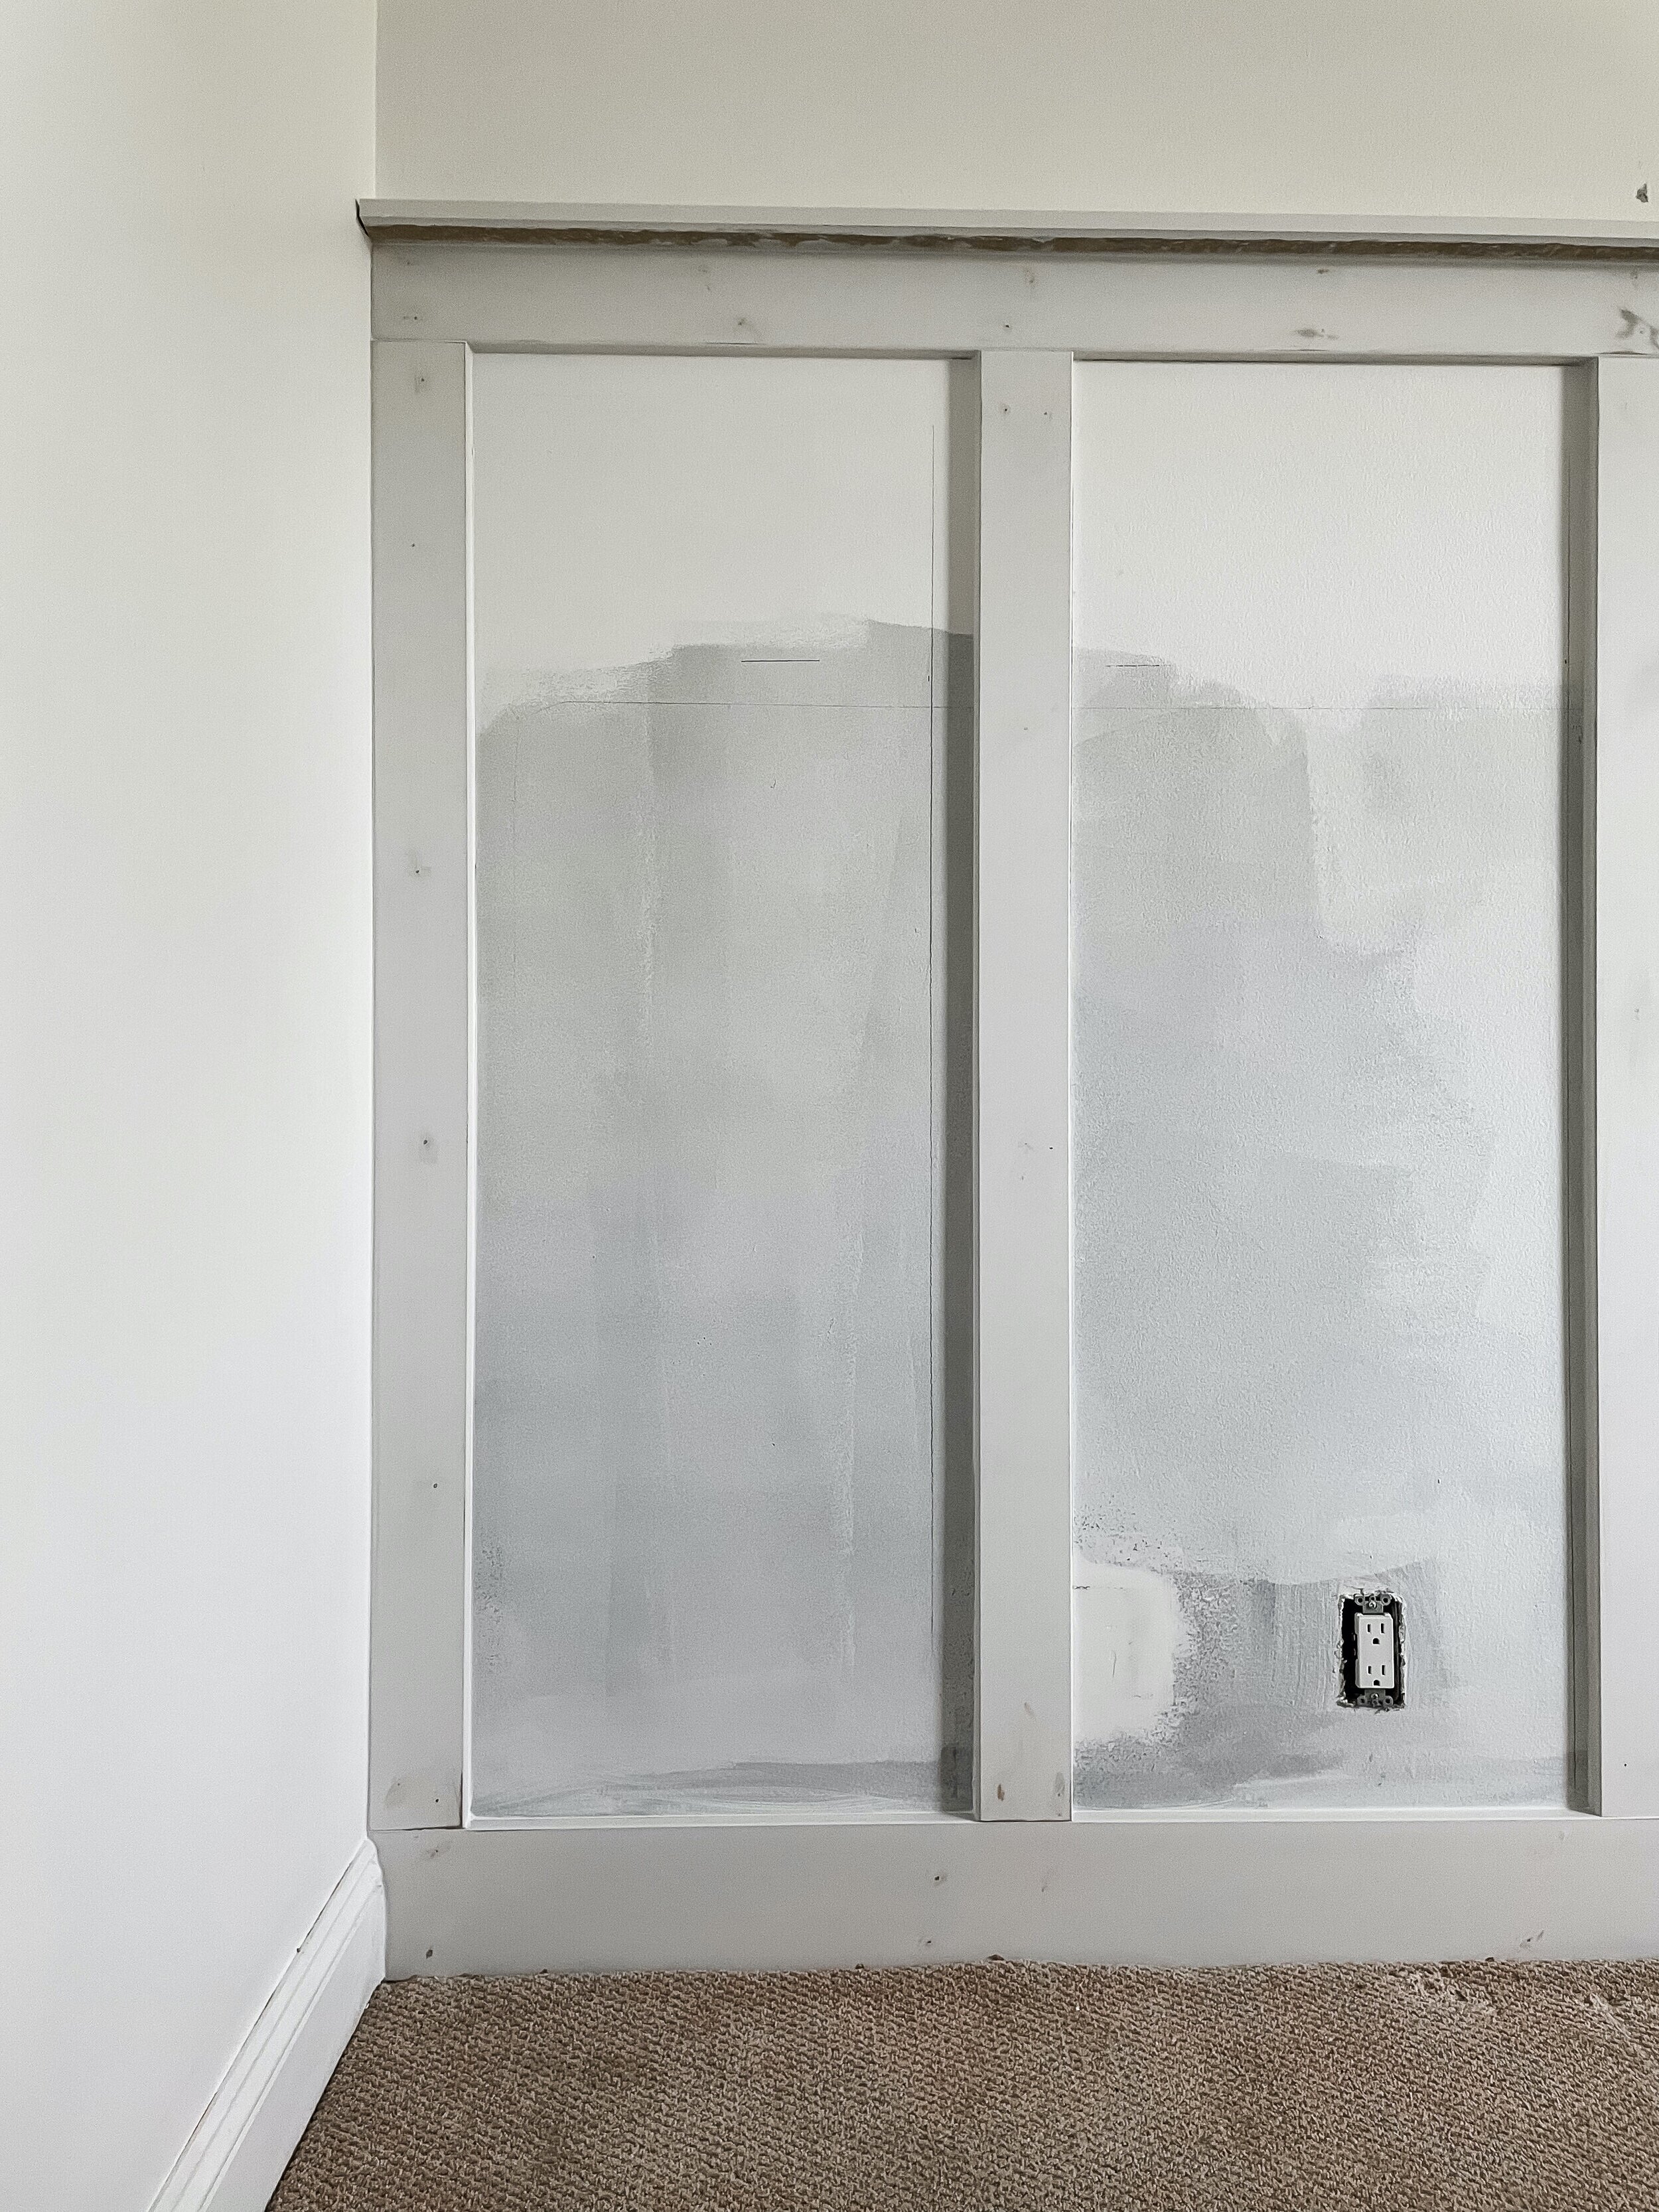
We started by removing the baseboard on the wall we we’re installing board and batten on. This is not a necessary step, but our MDF baseboard had gotten wet at some point over the years and had bubbled up. This felt like a good time to fix it, so we ran a razor blade along the caulking and carefully removed it with a crowbar.
We decided to use a square 6” piece of trim for the base of the board and batten for a cleaner look, so we used an oscillator tool to cut the mitered edge off both of the baseboards that would be running perpendicular to the board and batten to create a butt joint.
Then we measured out the spacing of the vertical pieces. I decided 7 pieces of trim would look the best visually, so naturally it was time for my favorite part - math. We found the best way to figure out spacing was to take the total length of the wall (144”), subtract the width of the batten trim pieces (3.75” x 7 pieces = 26.25” so 144” - 26.25” = 117.75”) and divide that number by the number of spaces we wanted in between each batten (117.75” / 6 spaces between the batten = 19.62” from one batten to the next). I created a diagram to help you visualize this in case you’re as passionate about math as I am (that’s 100% sarcasm).

Then we marked it out on the wall with a pencil, making sure each batten was plumb. Now you’re ready for the fun part: nailing the batten in place. If you don’t feel like Rambo while you’re doing this, you’re not doing it right. Then we simply nailed a piece along the top and then nailed the shelf to that. Ta da!
I found that wood filler worked well for filling each nail hole because it dries extremely fast and doesn’t require as much sanding as spackle. Once the nail holes were filled, I sanded them and used PAINTABLE caulk to fill in the gaps. If it’s not PAINTABLE caulk, you’re gonna have a mess on your hands. Don’t say I didn’t warn you.
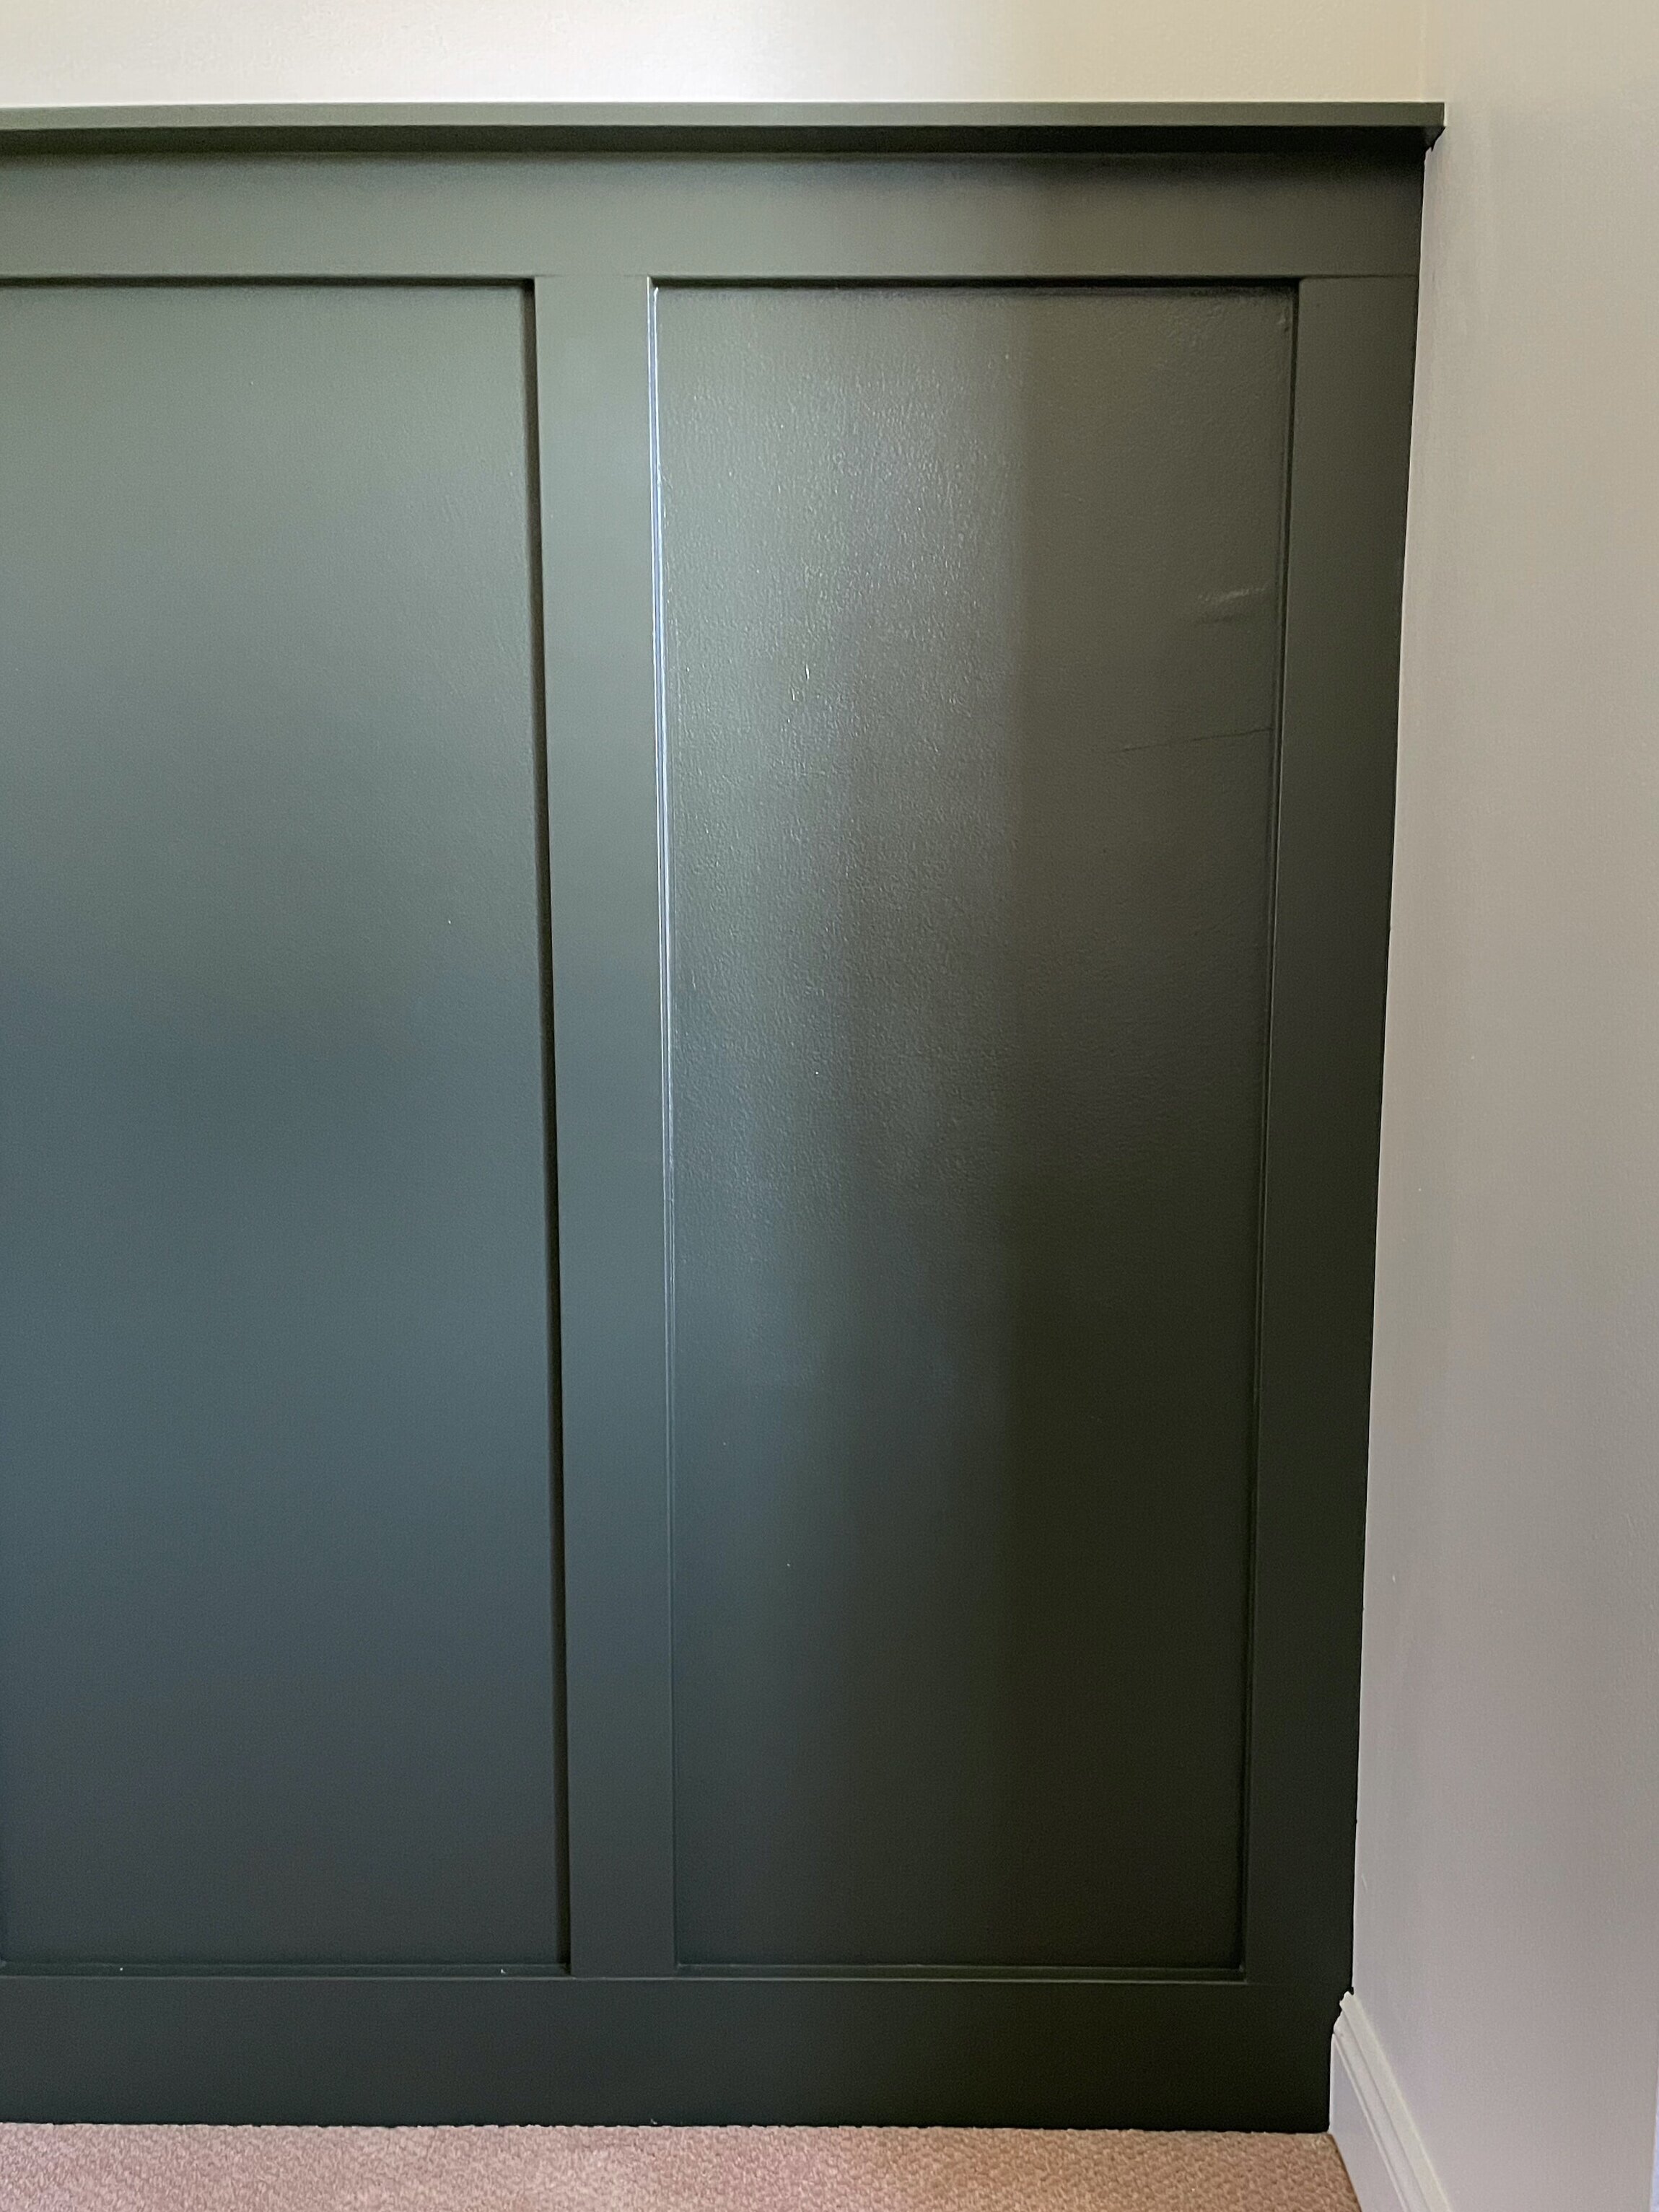

After about 4 coats of paint, we have a finished board and batten wall, ladies and gentlemen! I can’t believe how finished it makes the room look already. This wall cost us under $100 and it makes a huge impact. Make sure to check in next week to see more progress, and check out the ORC Blog to see other participant’s projects!

Follow along on Instagram for daily updates on this project and a ton of others!