One Room Challenge: Week 5 - Transforming the Loft Bed
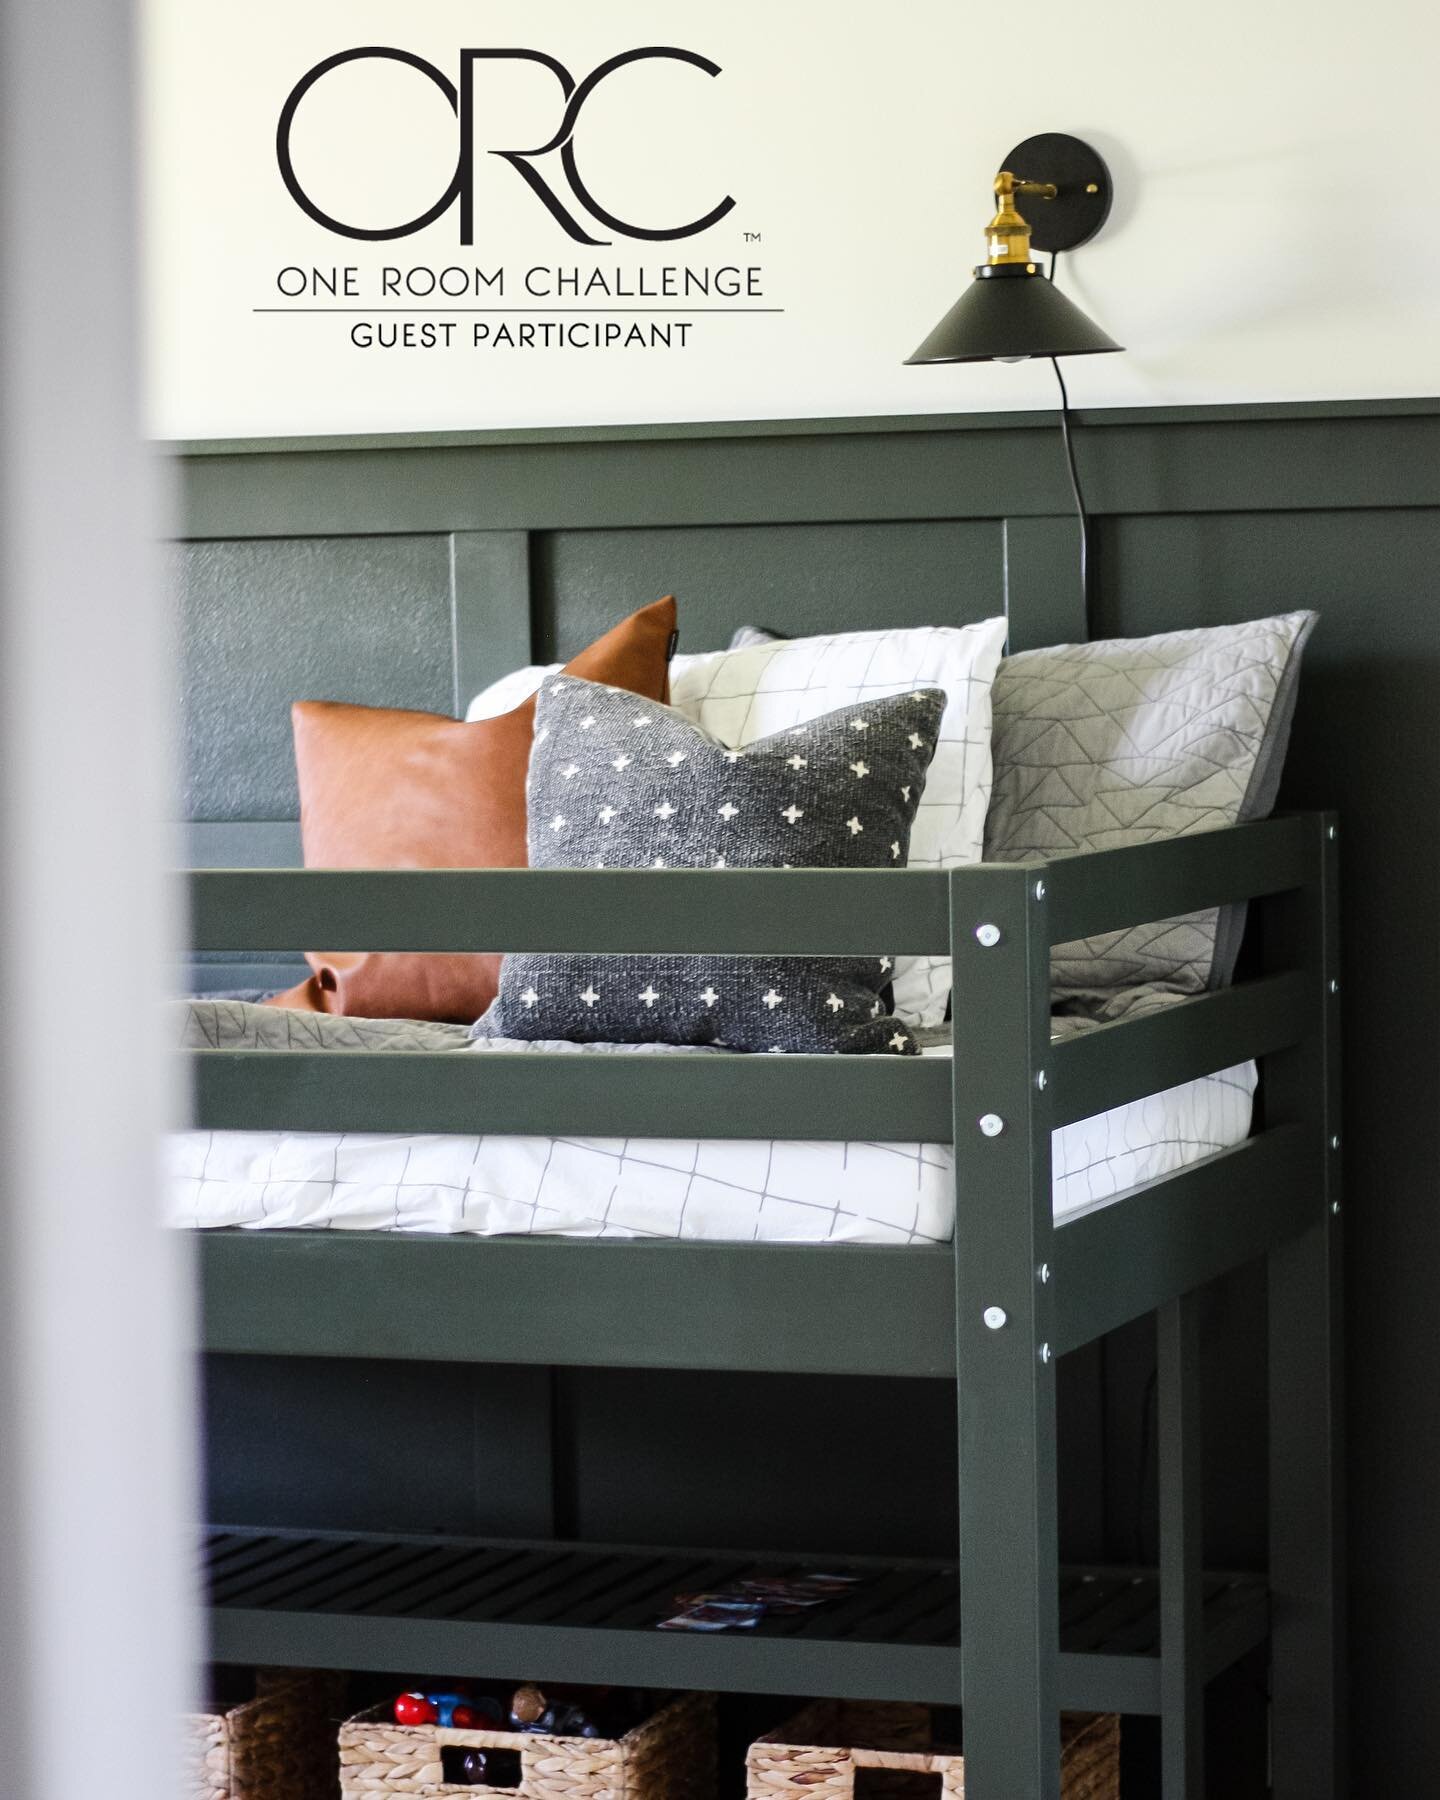
It’s week 5 of the One Room Challenge and we finally have the bed assembled! Let’s talk about this bed, shall we? We could have kept Aaron’s existing bed, but he’s a kid that LOVES forts so we thought a loft bed would be great for him. I’m hoping to add a few things to the area under his bed to make it extra special for him, and his existing bed will go right into Chloe’s room!
I originally wanted the IKEA KURA bed for his room, but quickly decided to pivot when I realized how hard they are to come by right now. I found this loft bed by Better Homes & Gardens from Walmart for $199 and the quality is great! It’s solid wood, and I love that it has a shelf for storage built in.
I wanted to paint the bed the same color (Ripe Olive by Sherwin Williams) as the board and batten, so in week 2 I sanded each piece and then took on a paint sprayer for the first time to get the bed painted. It definitely came with a unique set of challenges. Here are some things I learned:
Dilute your paint with water for less clogs (I filled a quarter of the container with water, the rest with paint) Note: This may make your paint take longer to fully dry.
Do many THIN coats. Do many THIN coats. Do many THIN coats!
Don’t over dilute the paint… it will cause drips.
Never use a tarp to protect against overspray… it will make a mess.
If you’re spraying a lot of thin boards (as opposed to a built piece of furniture), you’re better off using a saw horse and spraying them horizontally. It’ll be easier to get every side.

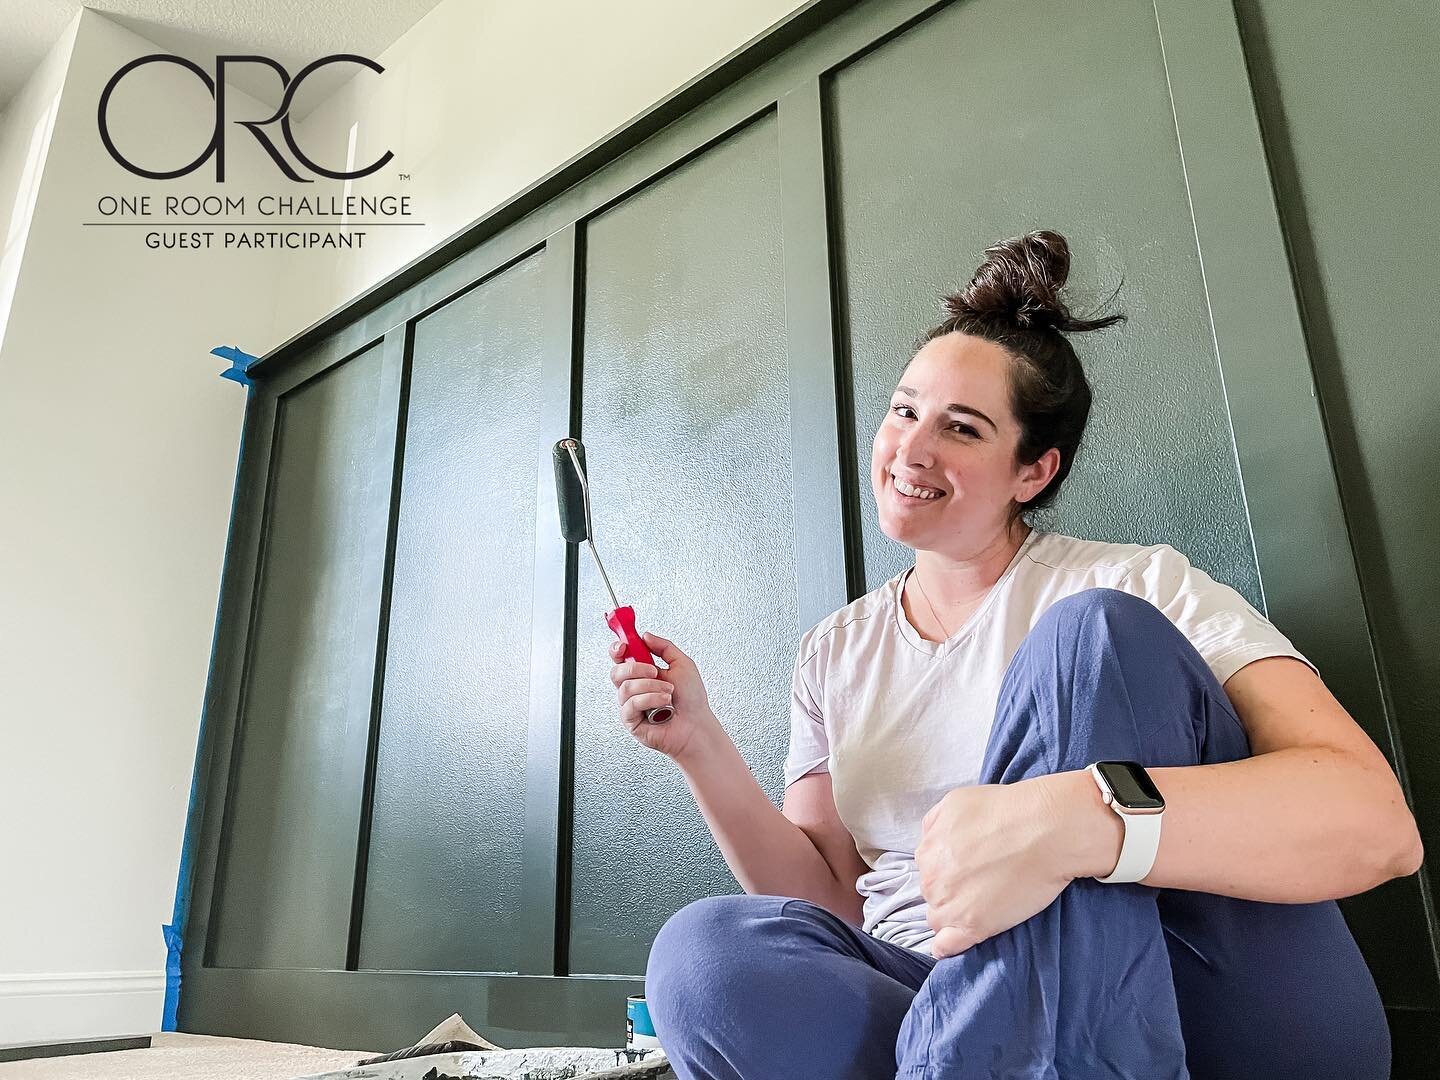
I’m smiling in this picture, but it’s mainly because I hadn’t started moving the boards into the garage yet. Enjoy the blissful ignorance on my face because I didn’t yet know the tarp was going pull off a ton of paint and make a huge mess. I spent the next week sanding off drips and the strips of paint that pulled away from the tarp when I moved each piece. I also missed a ton of spots because I should’ve used a saw horse. Here’s a picture of what I was dealing with:

It wasn’t a pretty picture, but this is par for the course in DIY and hopefully I can learn the lessons the hard way so I can save you time and heartache. The above picture does bring up a helpful tip that DID end up working out great, though. Each piece was labeled with a letter sticker, so before I sanded I made sure to write the letter on a side I wasn’t going to paint. If I hadn’t taken this step, assembly would have been a NIGHTMARE.
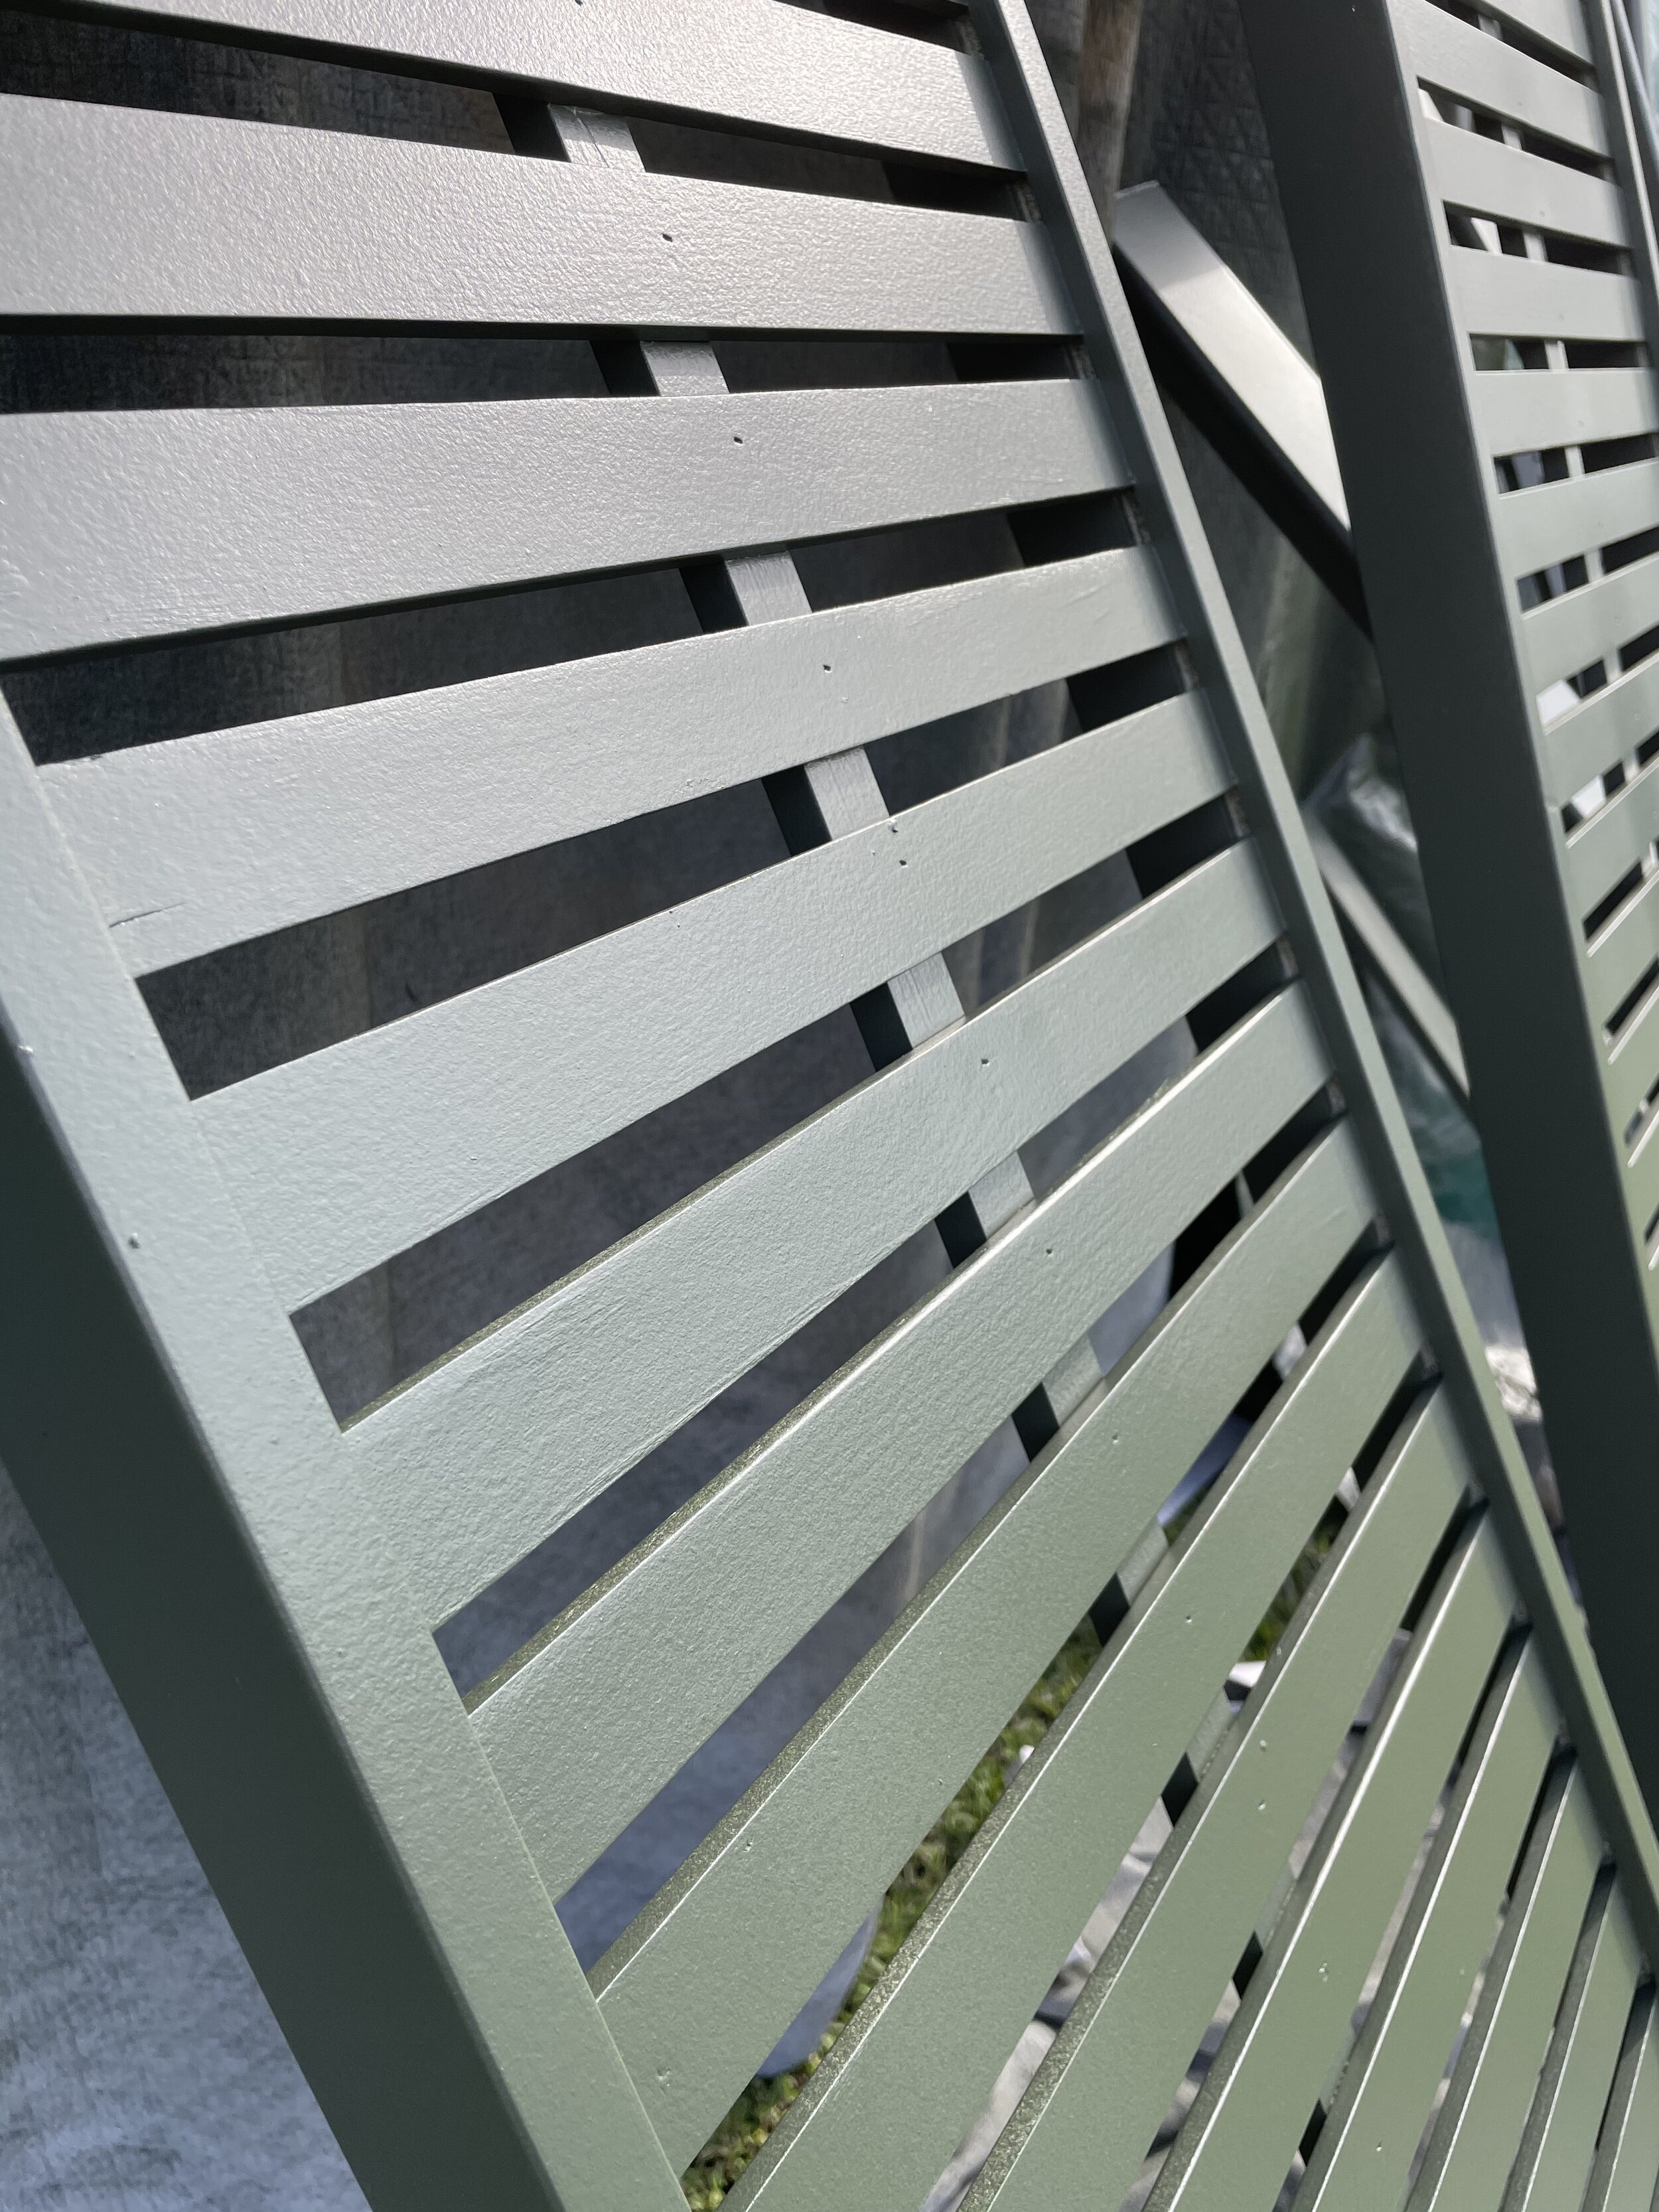
The paint sprayer did leave a beautifully smooth finish on the areas I used the right technique on. These slated shelves were my main reason for choosing to use a sprayer over a roller and I have to say, it definitely did save me some time.
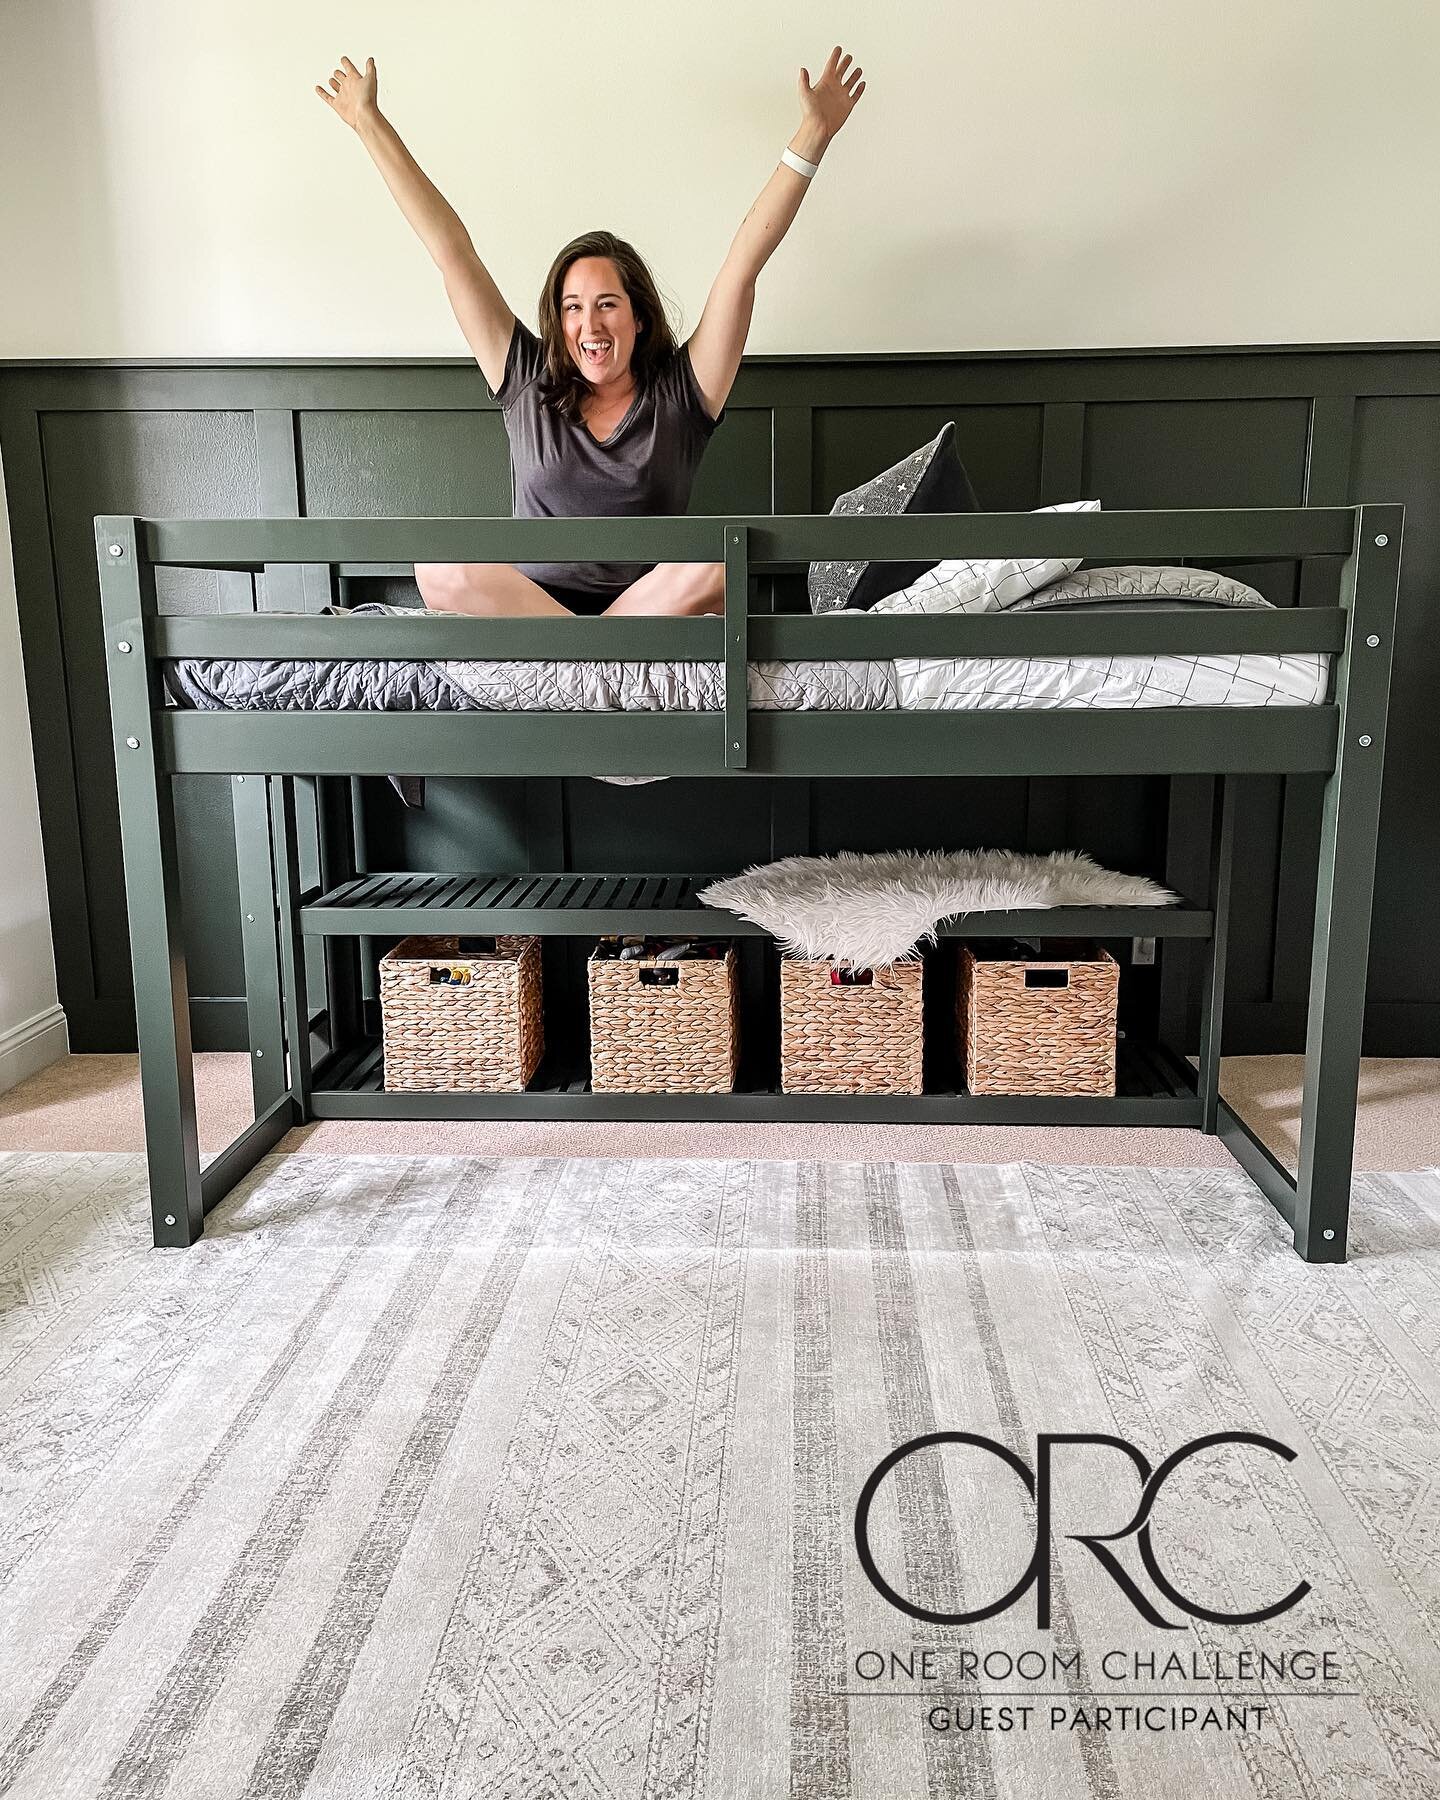
Assembly was a breeze once the painting and touch ups were completed. I was pleasantly surprised by the packaging of the hardware and clear instructions. It took my husband and I about 2 hours to put together. I added these seagrass baskets for extra storage and a new set of sheets and voila! Aaron has officially moved back into his room full time and now the fun begins - decorating.

Don’t forget to check the One Room Challenge blog for tons of inspiration from other guest participants like myself.

Follow me on Instagram for daily updates on this project and a bunch of others!