One Room Challenge: Week 3 - Tips for Painting White Walls
Here we are already at Week 3 of the One Room Challenge! This week felt like the most productive week of the challenge so far because we painted! I always enter the “honeymoon phase” of a renovation after the paint goes up because the room suddenly feels ripe with potential. There is nothing like a fresh coat of paint to breathe new life into any space, piece of furniture, etc.

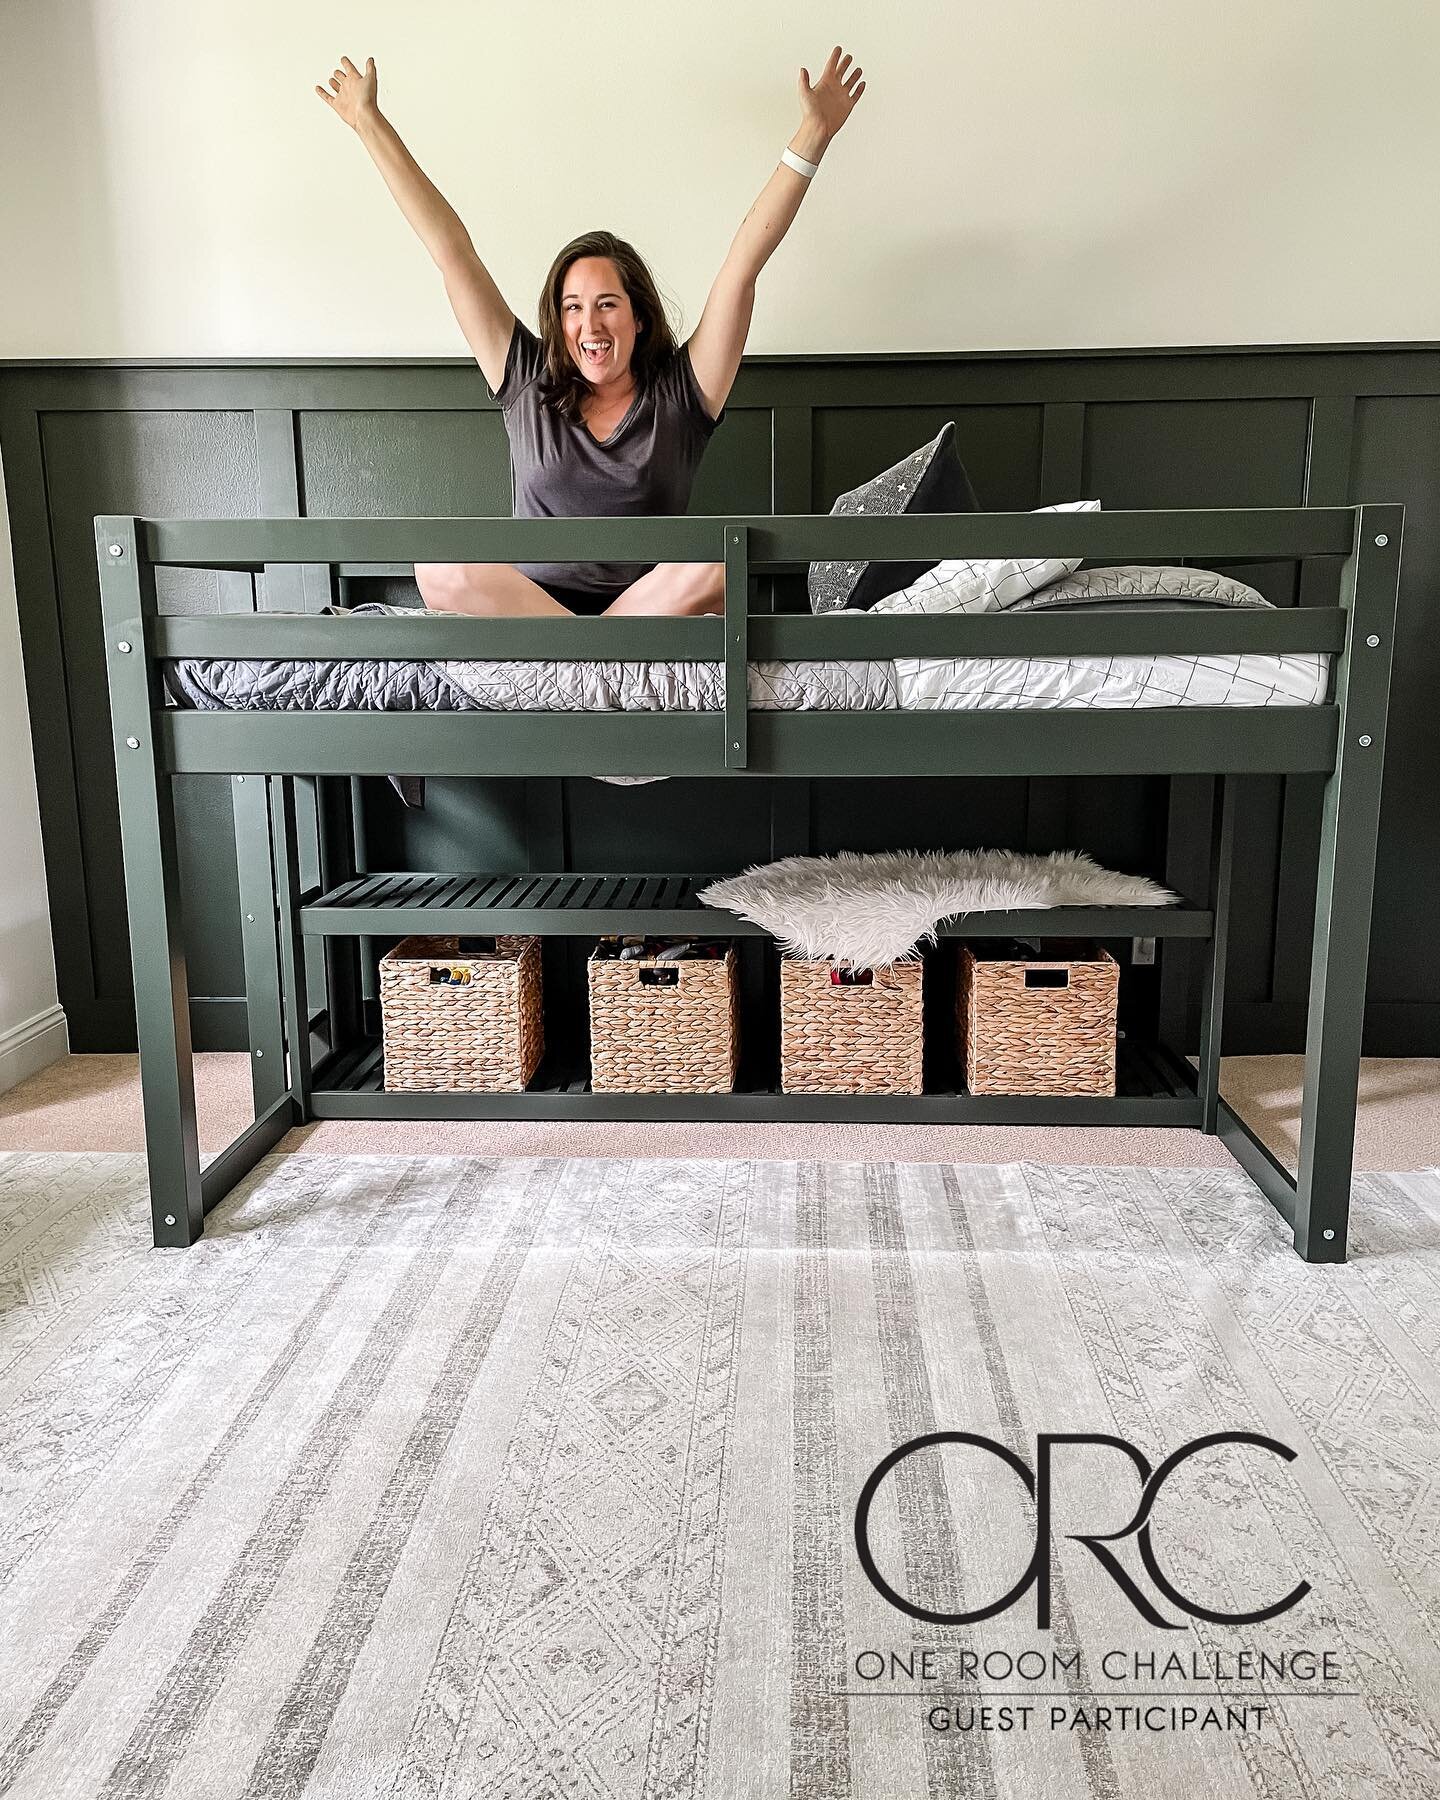
I’ll admit, I’ve been a little apprehensive about this step. I don’t recommend this, but because of the national paint shortage, Home Depot didn’t have any sample sizes available for me to buy… so I did what anyone in my situation would do - I bought an entire gallon and crossed my fingers! This method worked out beautifully with the color I chose for the loft bed, so I was hoping to go 2 for 2.

If you remember from last week, I chose the color Polar Bear by Behr for the majority of the walls in the space. White is a notoriously difficult color to get right because there are so many variations of it. It can pull different undertones depending on the lighting in a space and a variety of other factors, so you can understand why I wasn’t feeling 100% sure of my decision after purchasing a whole gallon based on how the paper swatch looked in the room. I’m so happy to reveal that I LOVE THE COLOR, though! It’s the perfect “neutral white” and doesn’t pull any undertones in this room.

If you were around when I did my laundry room, you may remember that I had a hell of a time painting the walls. It was my first time choosing to paint walls white and I could have avoided a lot of frustration if I knew what I know now. Here are a few of my tips for painting white walls:
Prime before you paint
I did not prime in the laundry room because I was going over a light sea salt color. I figured it would cover easy enough, but this time I learned from that mistake and used Killz Primer over the previous dark gray color. Not only does this step help the paint adhere better and prevent bleed through, it literally saves money. Primer is much cheaper than paint, and I’m confident I saved myself from needing to buy a whole extra gallon of paint because of this step.
Use higher quality paint
I chose to upgrade to BEHR ULTRA® SCUFF DEFENSE specifically because I was using white and I wanted to reduce the number of coats the walls needed. I kept having flashbacks to the laundry room, which needed over 4 coats to cover completely. This made a huge difference in coverage! The premium paint is noticeably thicker and the coverage was great. The walls were covered in 2 coats!
Choose a wipeable sheen
I’m usually a flat sheen girl - I love that flat paint hides imperfections on walls and leaves a “high end” looking finish, but I know what Aaron’s walls looked like before I re-painted them and I had a feeling white walls were going to be even more challenging to keep clean. I think using a more wipeable finish when using white paint will save you countless headaches down the line. I opted for eggshell, but I’d also recommend matte or satin. I never recommend semi-gloss or gloss for walls (only trim) because it always looks messy due to the sheen.
Always swatch white in your space
Like I said, white is a notoriously tough color to get right because it can look completely different than the swatch in various lighting conditions. The only way to know which white is for you is to test it on your walls. I’d recommend swatching a few different walls to get a good sense of how it will look in all lighting conditions throughout the room. Do as I say, not as I did in this situation.
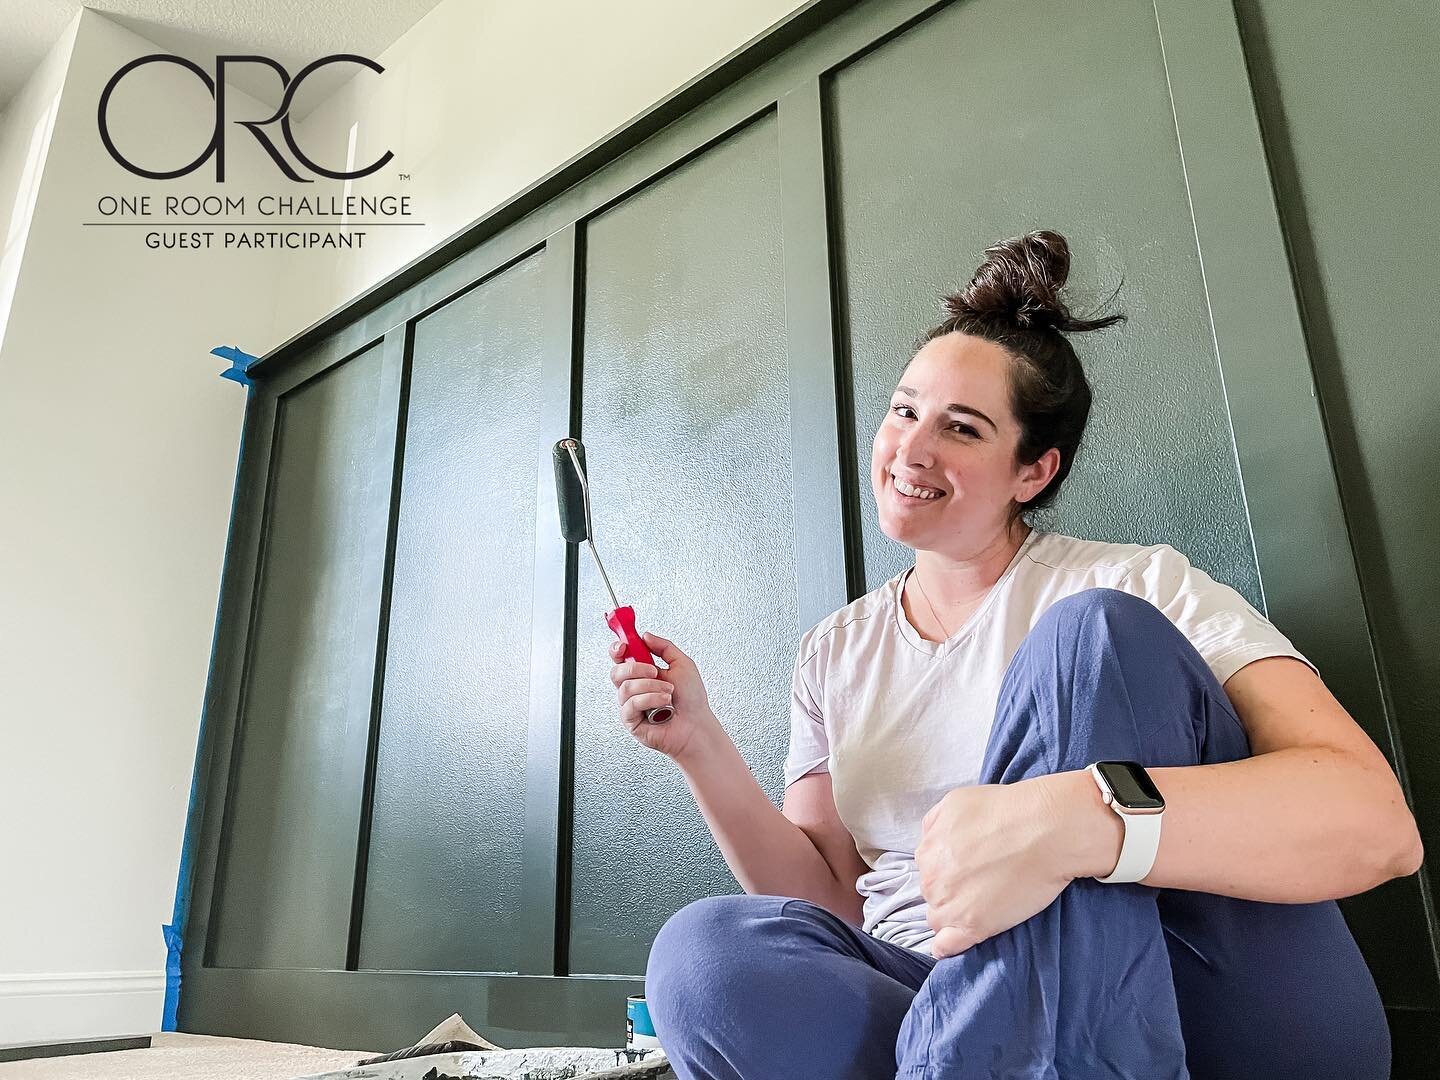
I got lucky that the color I chose ended up working so well and I couldn’t be happier with how much brighter the room looks already! Follow along next week to see how the board and batten turns out, and don’t forget to check the One Room Challenge Blog to see what the rest of the designers are up to this week.

Follow along on Instagram for daily updates on this project and a ton of others!