
Oops, I painted my door.
Funny story… after painting the caned chair Night Owl by Sherwin Williams, I fell head over heels with the color. I fell so in love that I felt the overwhelming urge to put it somewhere in the house ASAP, so I looked over at my front door and the rest is history. I’m about to start the One Room Challenge, and I felt like I needed a small win before embarking on this big project.
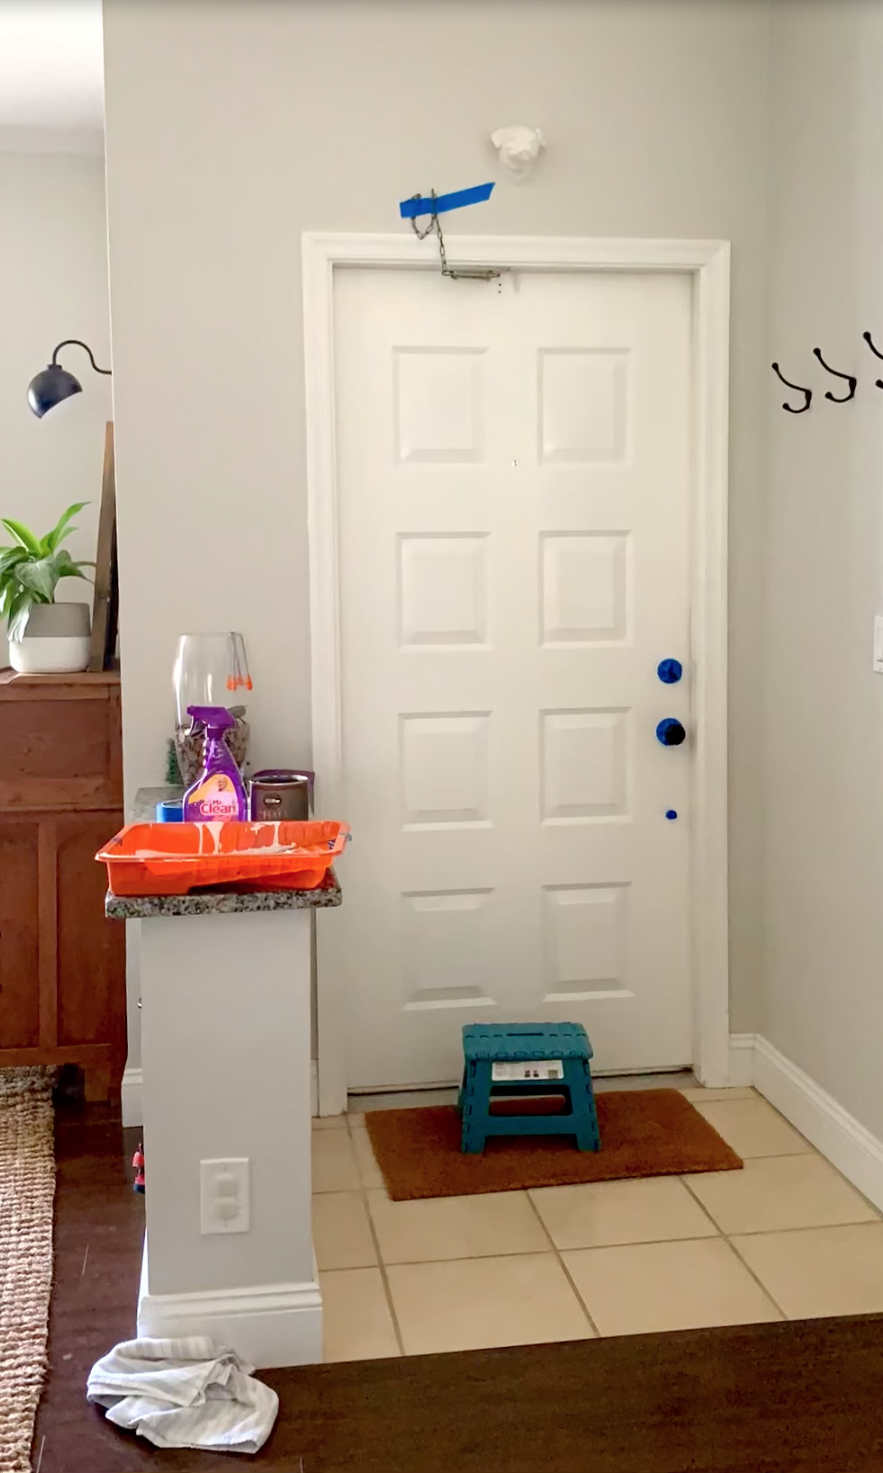

The great thing about painting an interior door is that it’s a high impact, low time commitment project. It’s such a small area to paint, it literally took me 2 hours total. Looking back at the “before” pictures, I’m shocked I held on to the white for so long. It was covered in finger prints and smudges, and while I will always love “light and airy”, I was missing a huge opportunity to give this corner of my home some personality!

This was somewhat of an experiment, however. I used Chalk Paint since it’s what I had on hand from the chair project. I don’t know if chalk paint is recommended for use on an interior door, so we’ll see how it holds up. Here are the steps I took to achieve this look on my metal door:
Lightly sanded the door, making sure to sand/scrape the sides while the door was open as well. There were a lot of squished bugs up there…
Cleaned the door with a damp rag
Painted the door in Night Owl by Sherwin Williams. I got it mixed at Home Depot as a chalk paint. It took 2 coats. I used a brush for the edges and groves, and then went over everything with a foam roller.
After letting it dry about 2 hours, I used a clean, lint-free cloth to apply chalk paint wax over the entire door. This will hopefully keep the chalk paint from distressing more over time since it creates a harder finish over the paint.

That’s it! I really hope it holds up like the other pieces in our home I’ve used the same products on have. If it doesn't, you better believe I’ll be buying another quart of paint in the SAME COLOR and painting it again!