Caned Chair Thrift Flip

I’ve been making heart eyes at all the caned chairs and credenzas that have been trending recently, so when my mother-in-law was given this chair for FREE for the “Cabbage” (their beach condo), I was dying to get my hands on it. It had great bones, but it was a bit dark for the coastal vibe we were going for in the space.

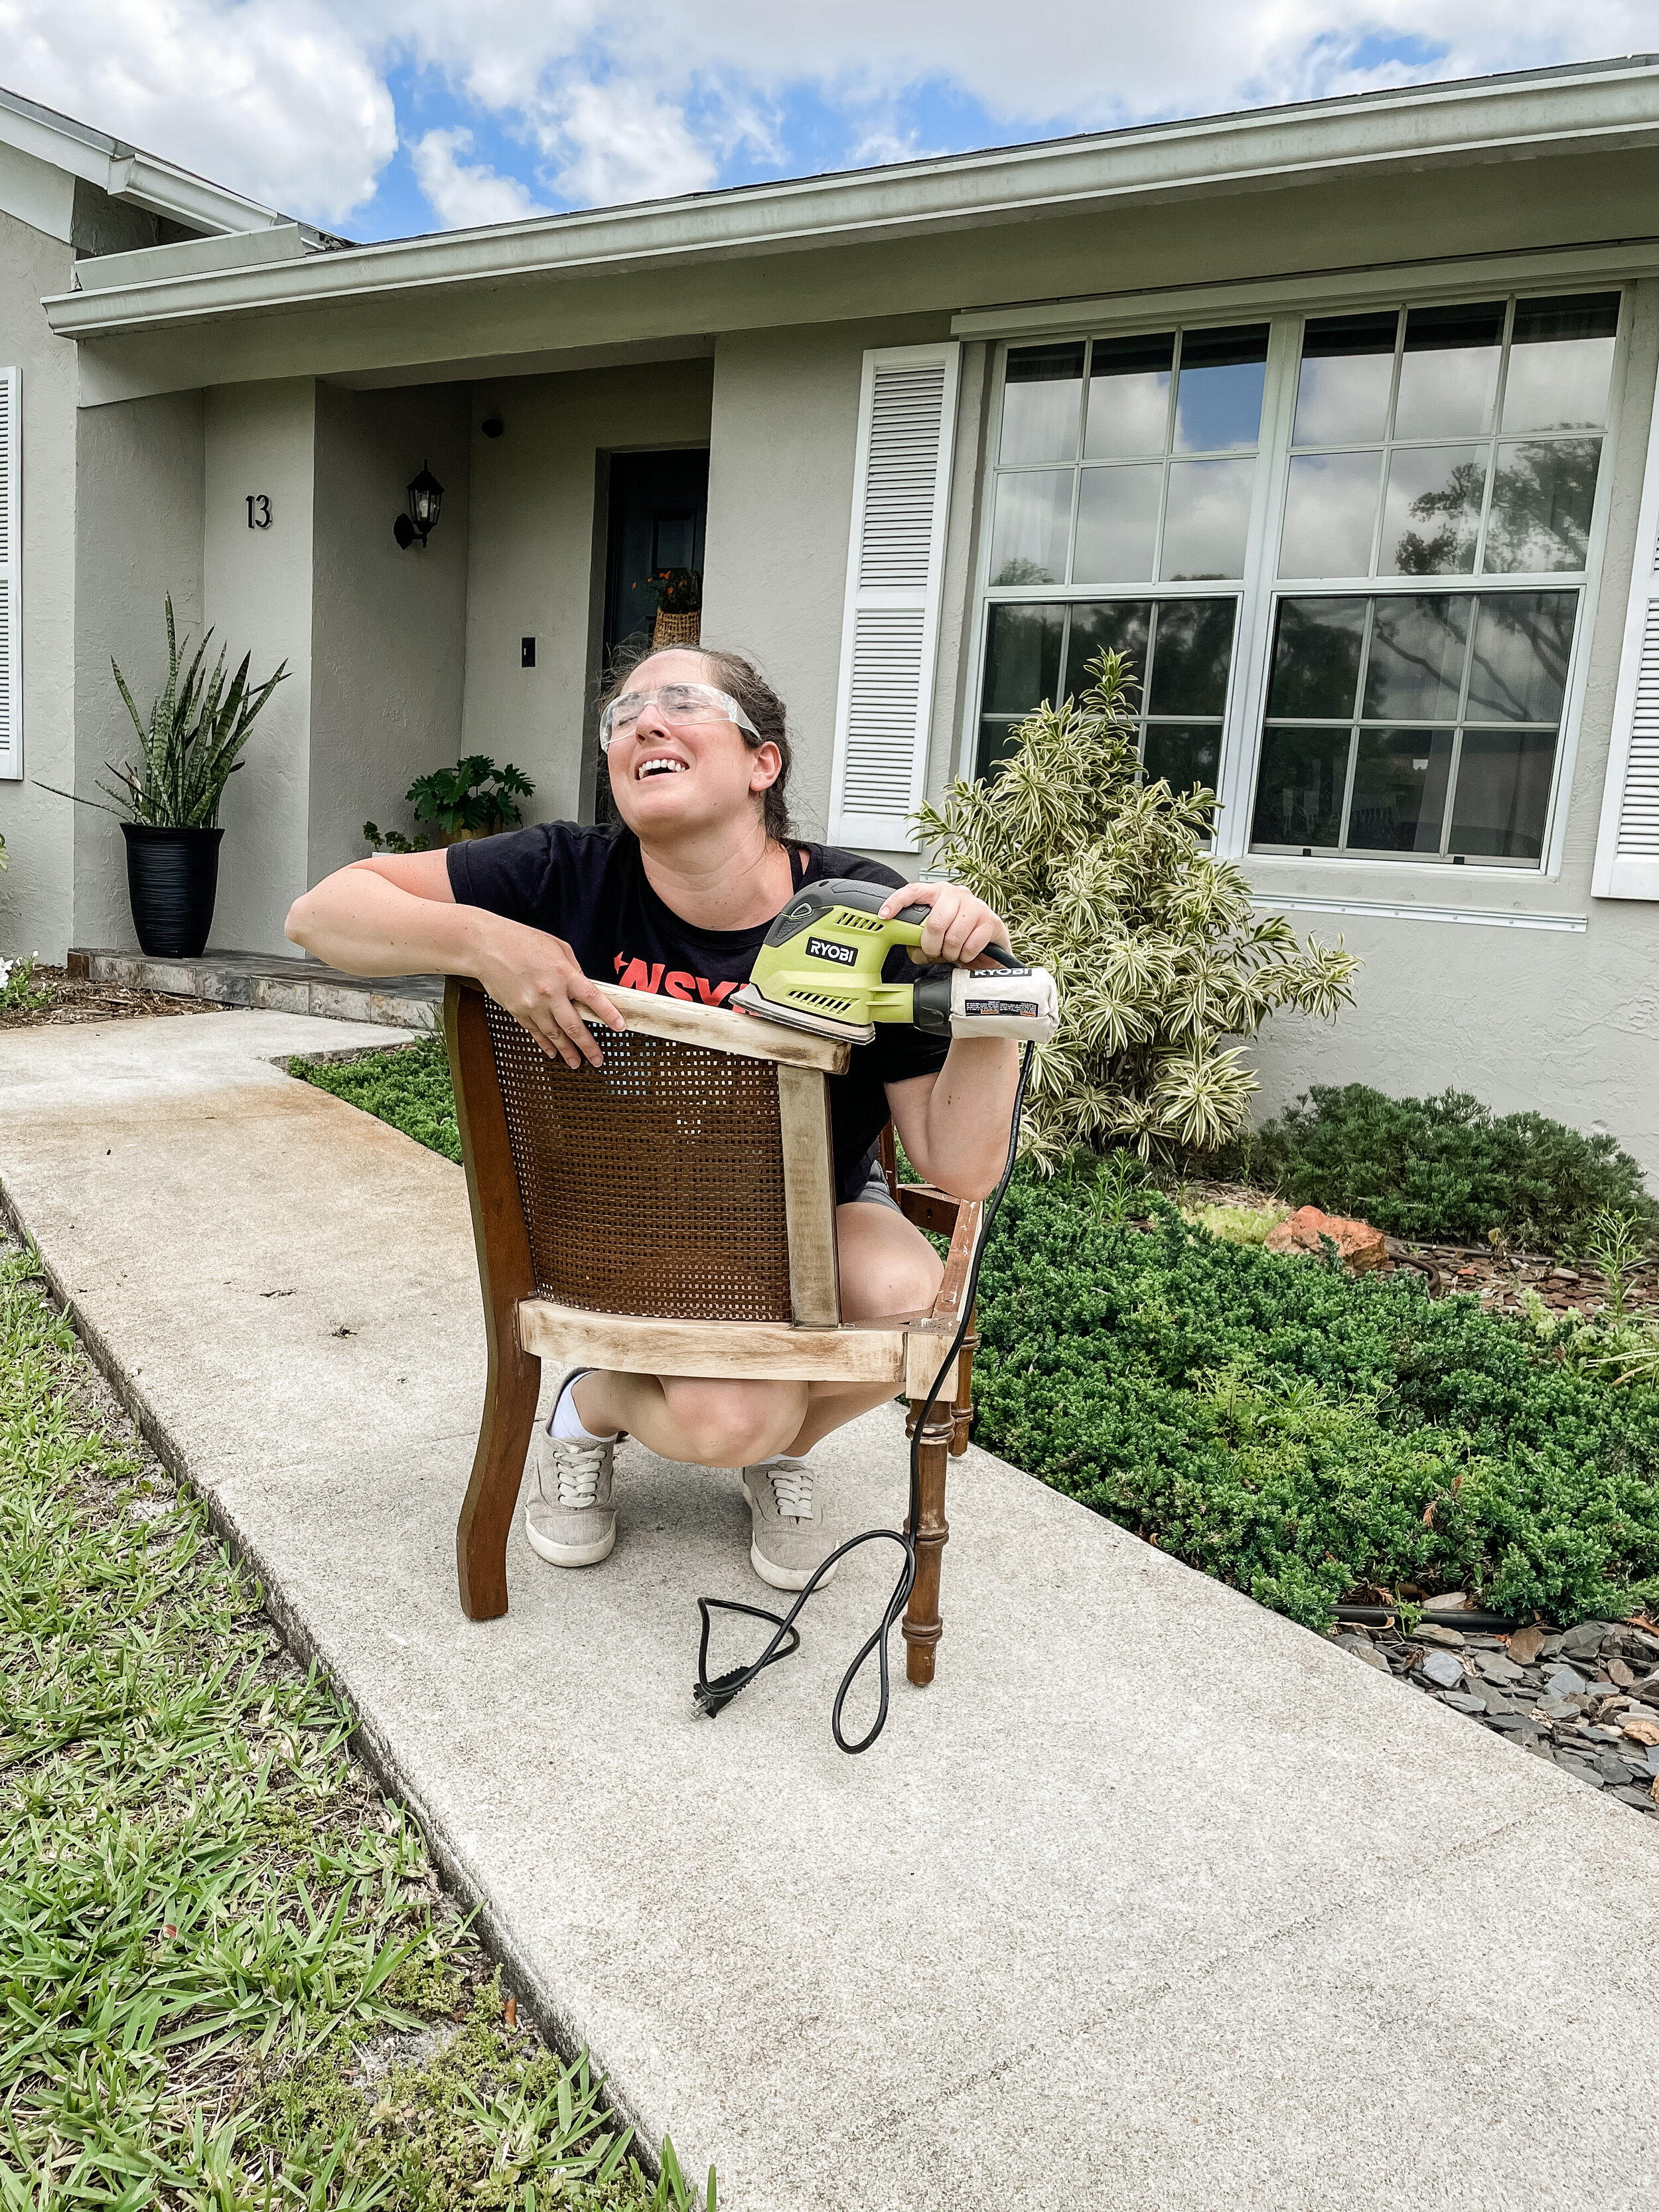
My first instinct was to sand it down to the natural wood, so I bought a mouse sander and got to work. When I tell you I was SOLD on my vision for this chair being natural wood, I was SOLD. I couldn’t wait to see my vision come to life… but the universe had a different plan because I quickly realized that the quality of wood this chair was constructed with was not going to look good when sanded. There were a number of different kinds of wood, the worst being the arms which were seemingly made of plywood.
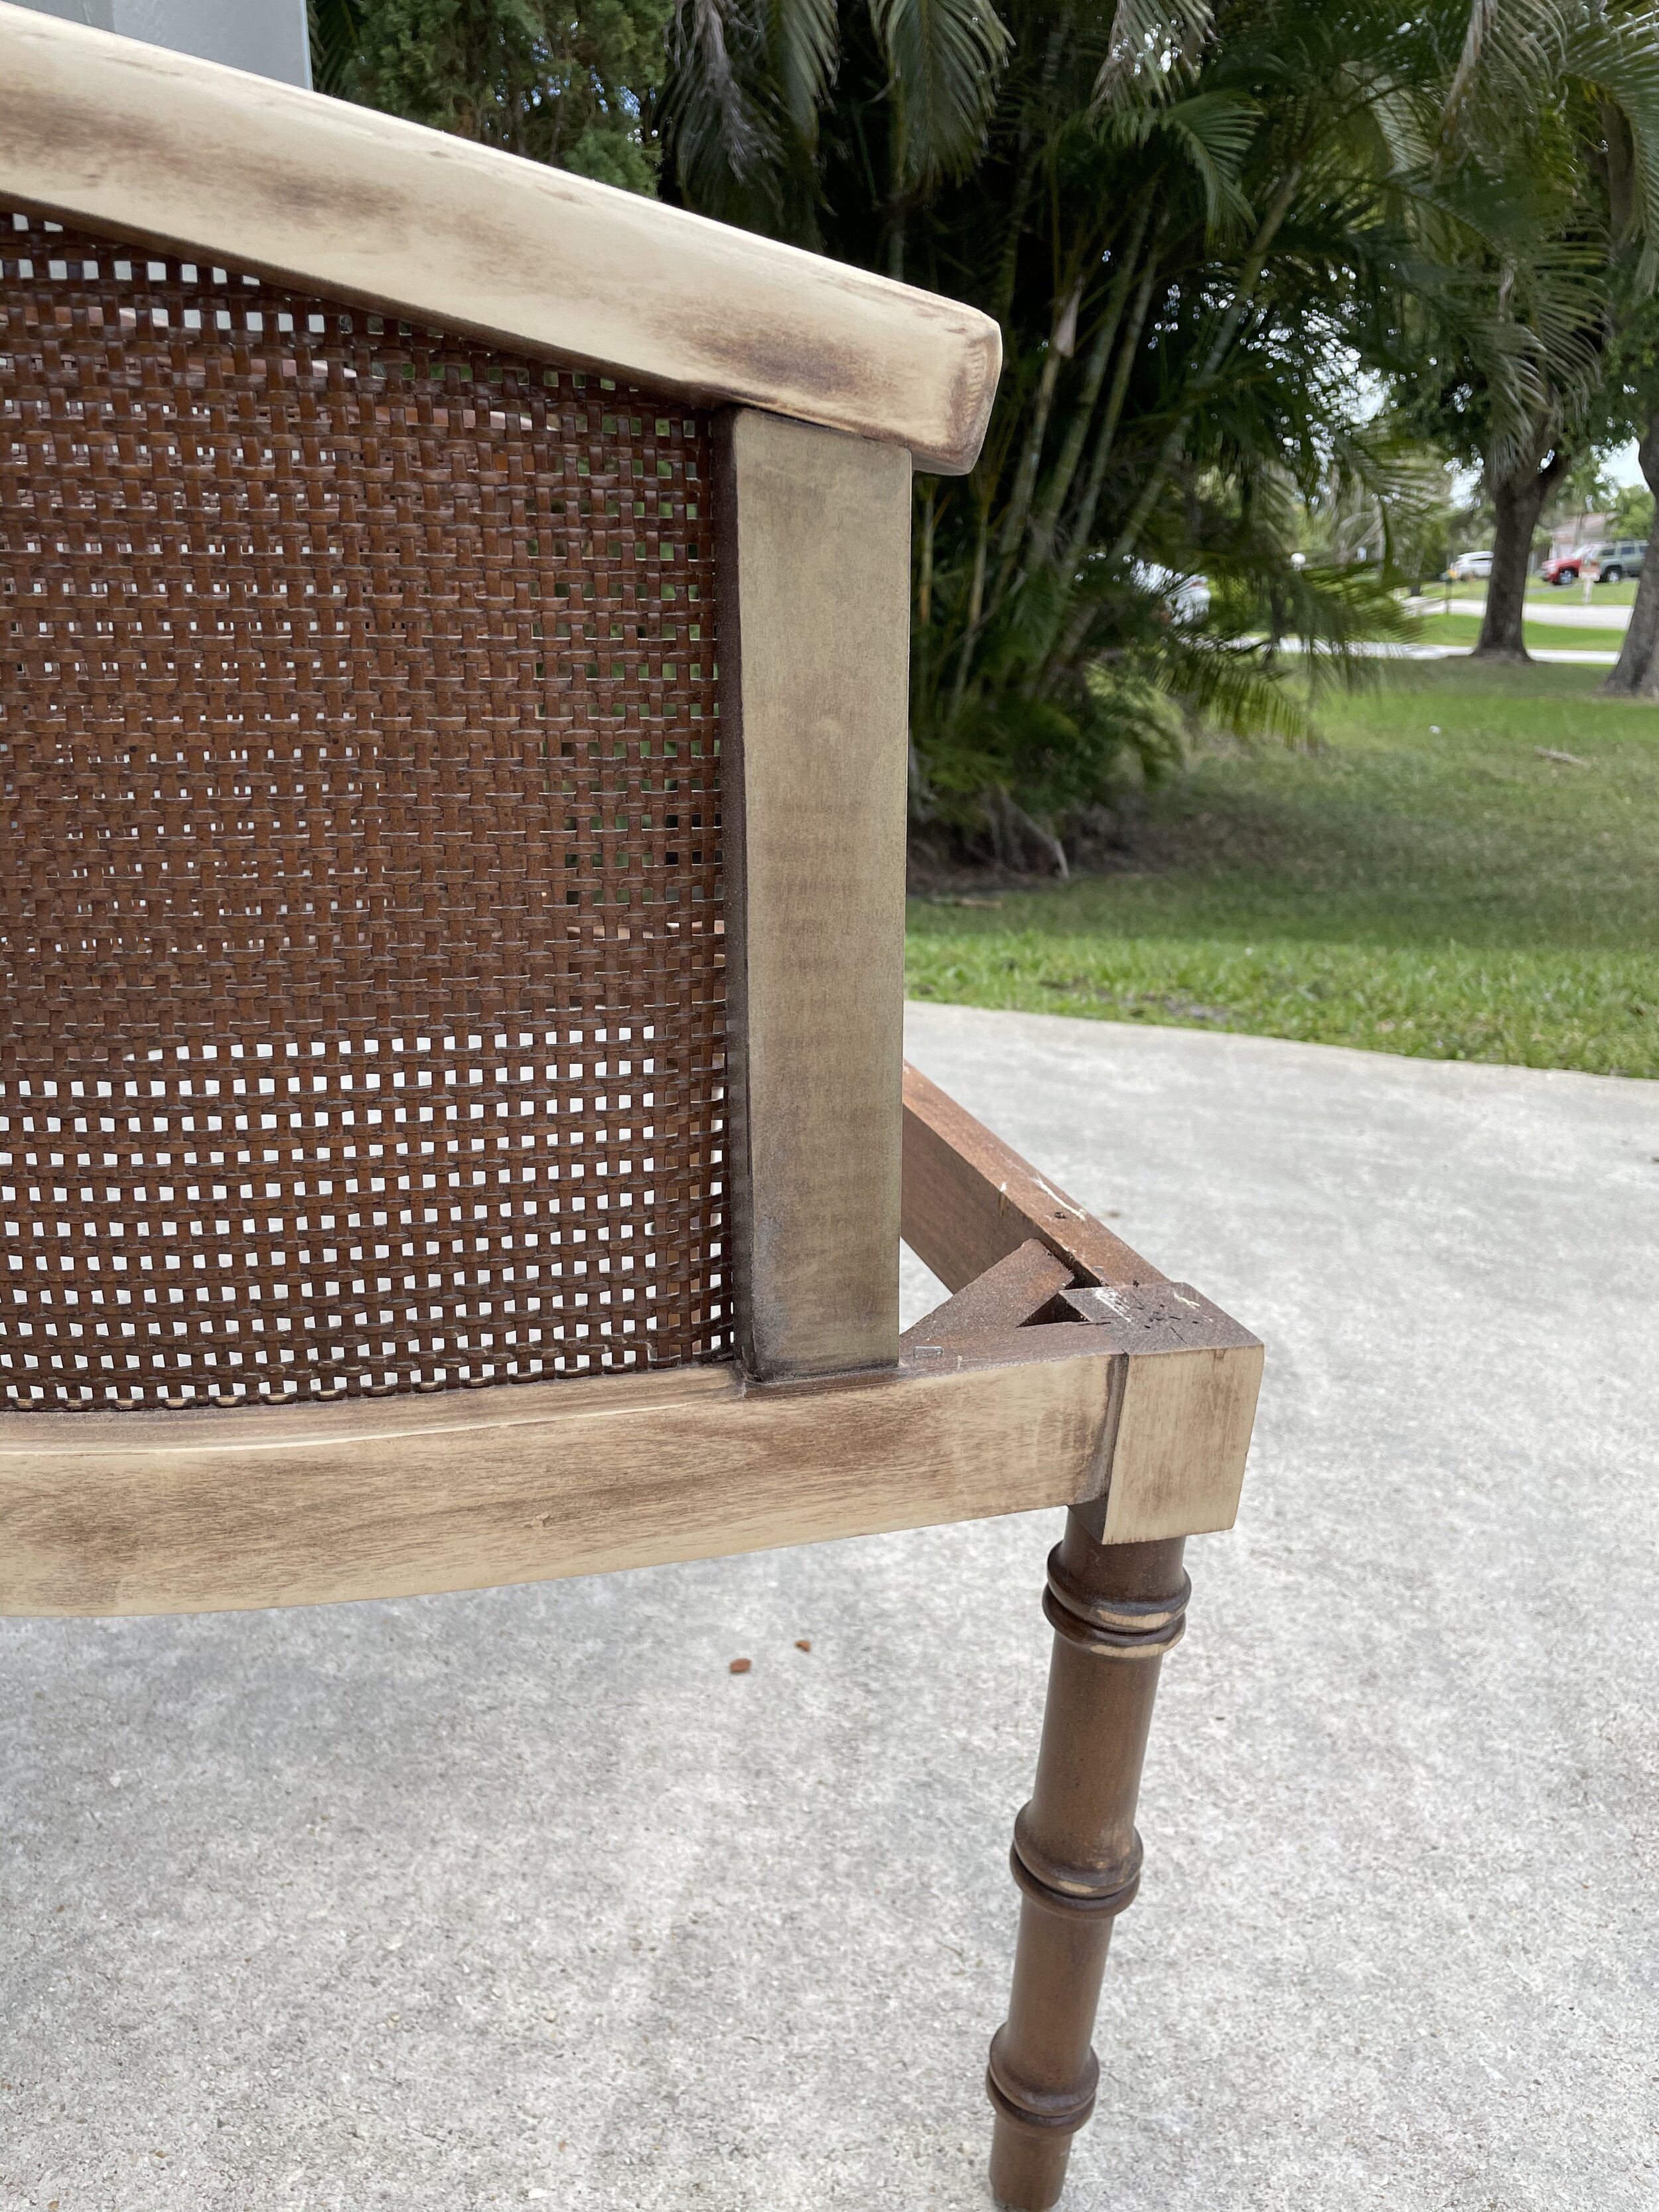
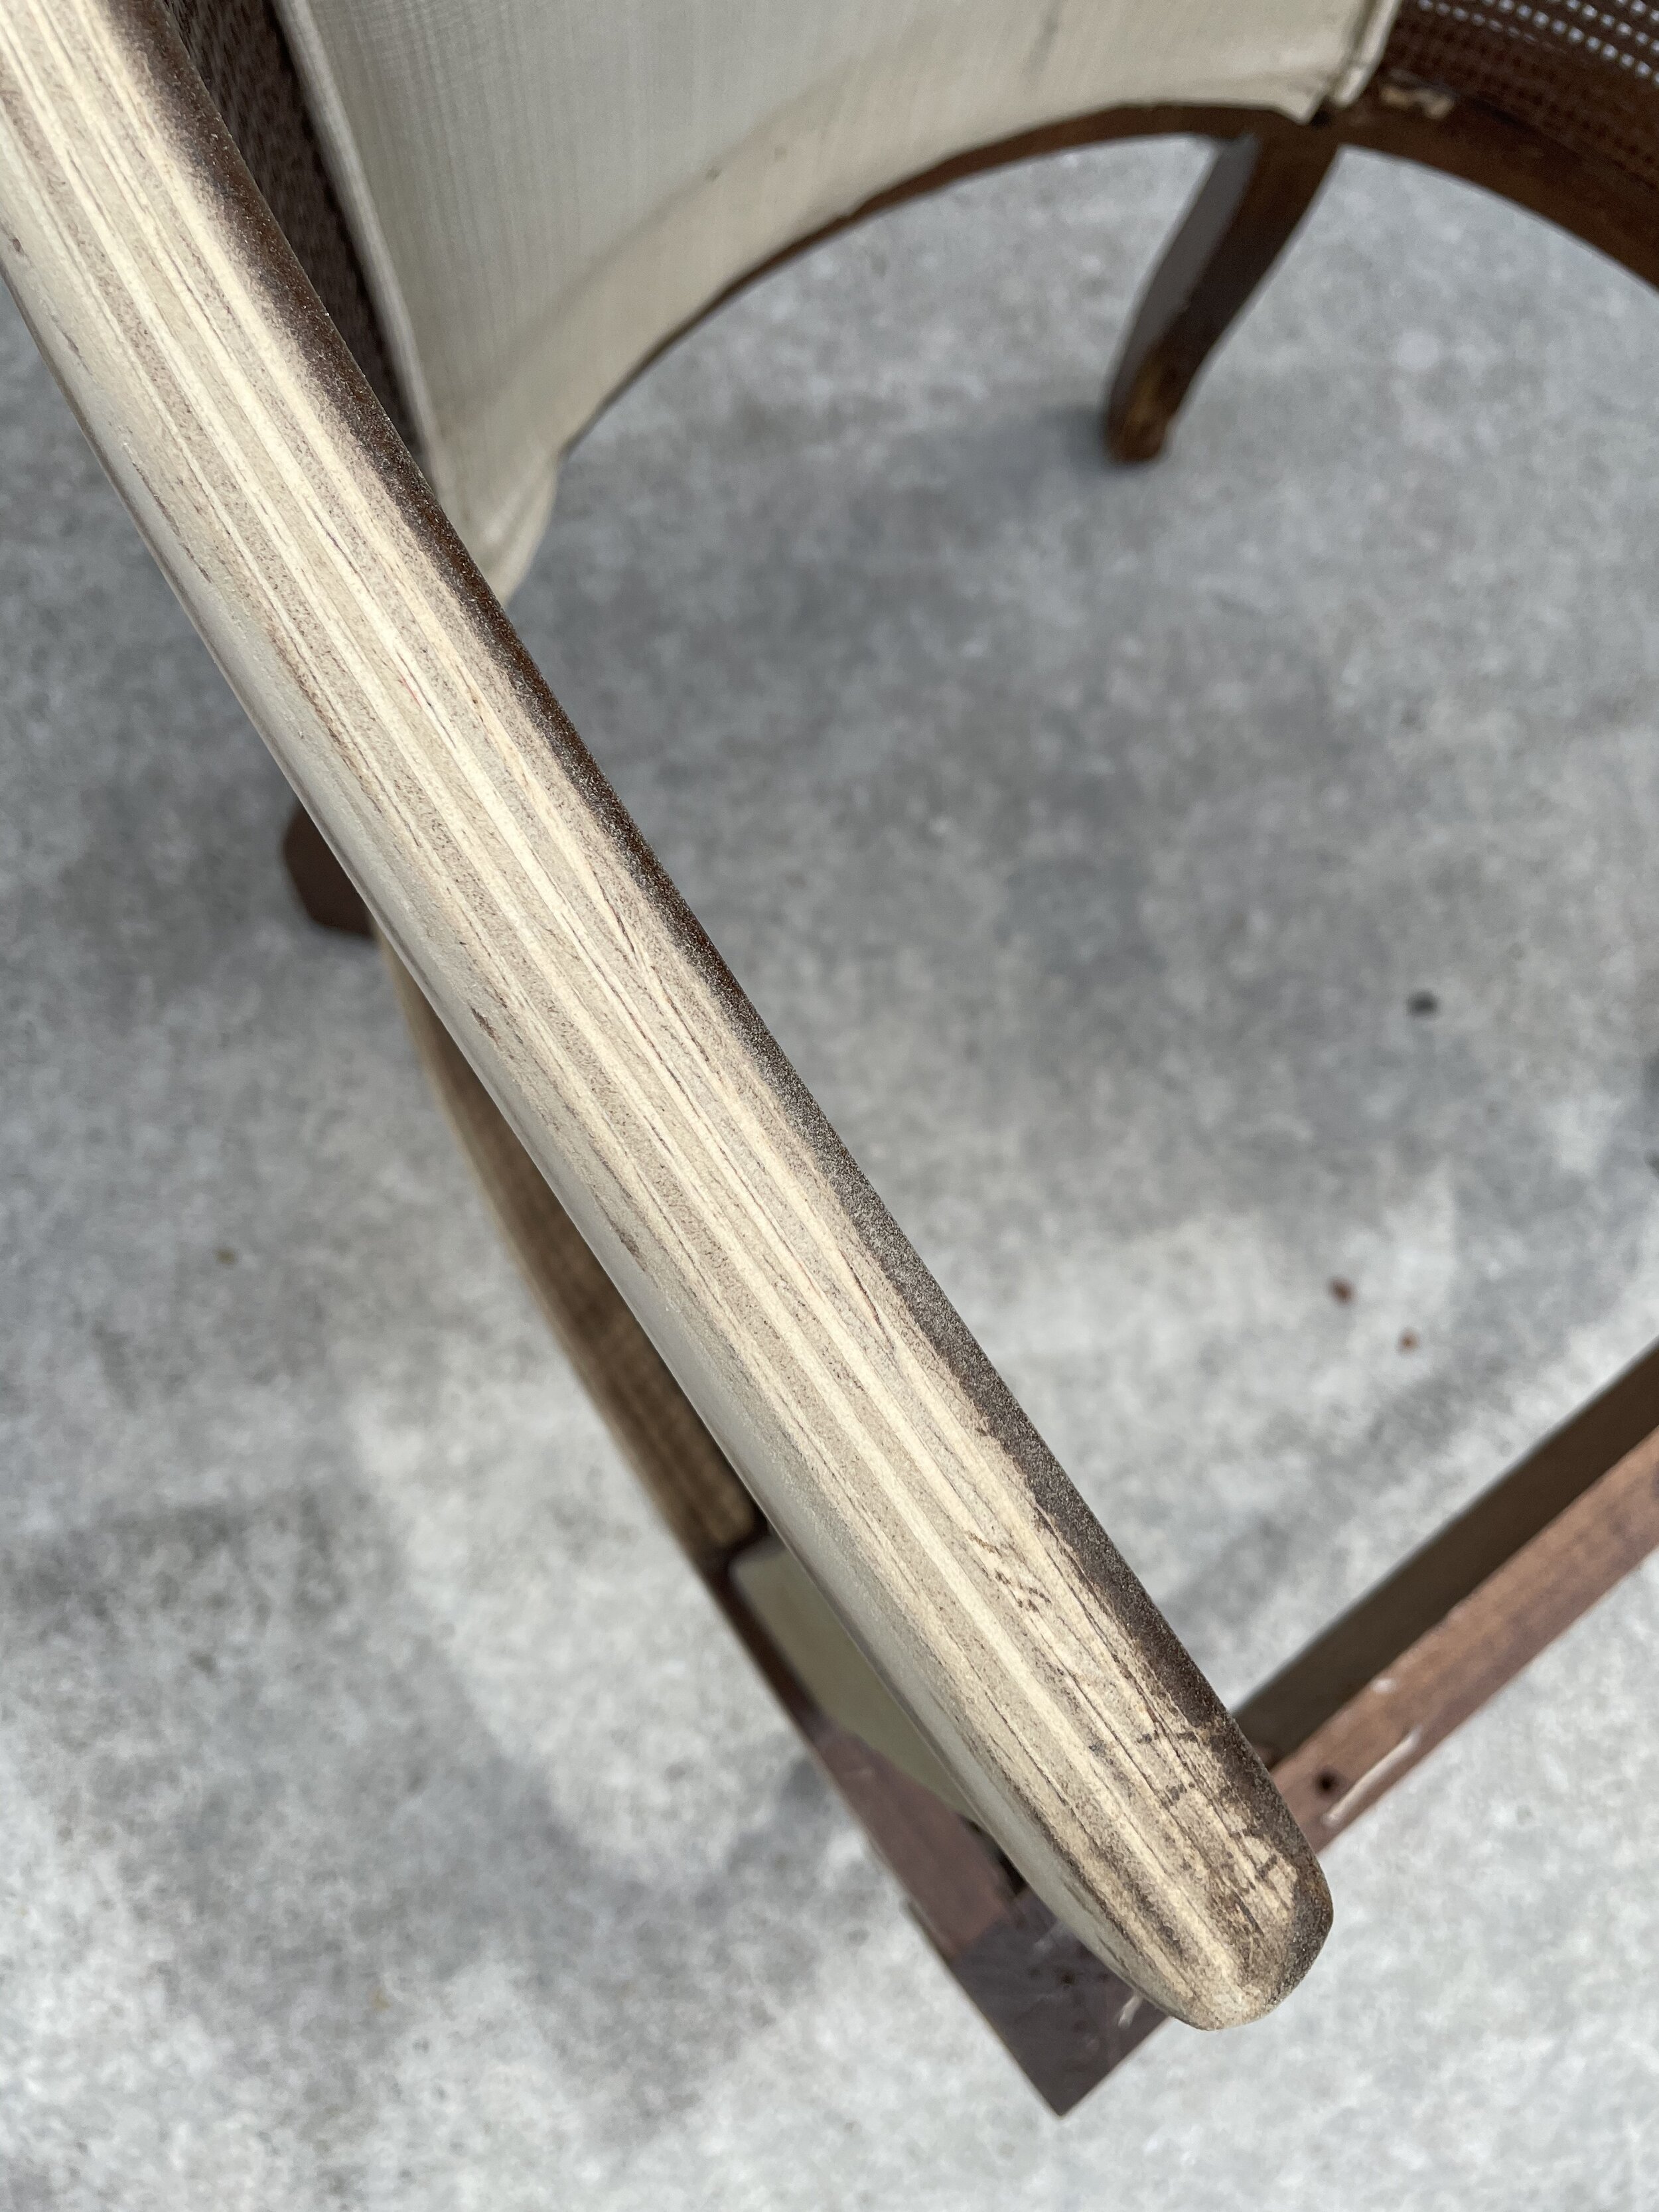
I quickly regrouped and decided to go ahead and spray paint the caning while I decided how to adjust my vision for this chair. I knew in order to be more coastal the caning had to be lighter, so I taped off the fabric and sprayed it with Rustoleum 2x in the color Khaki.
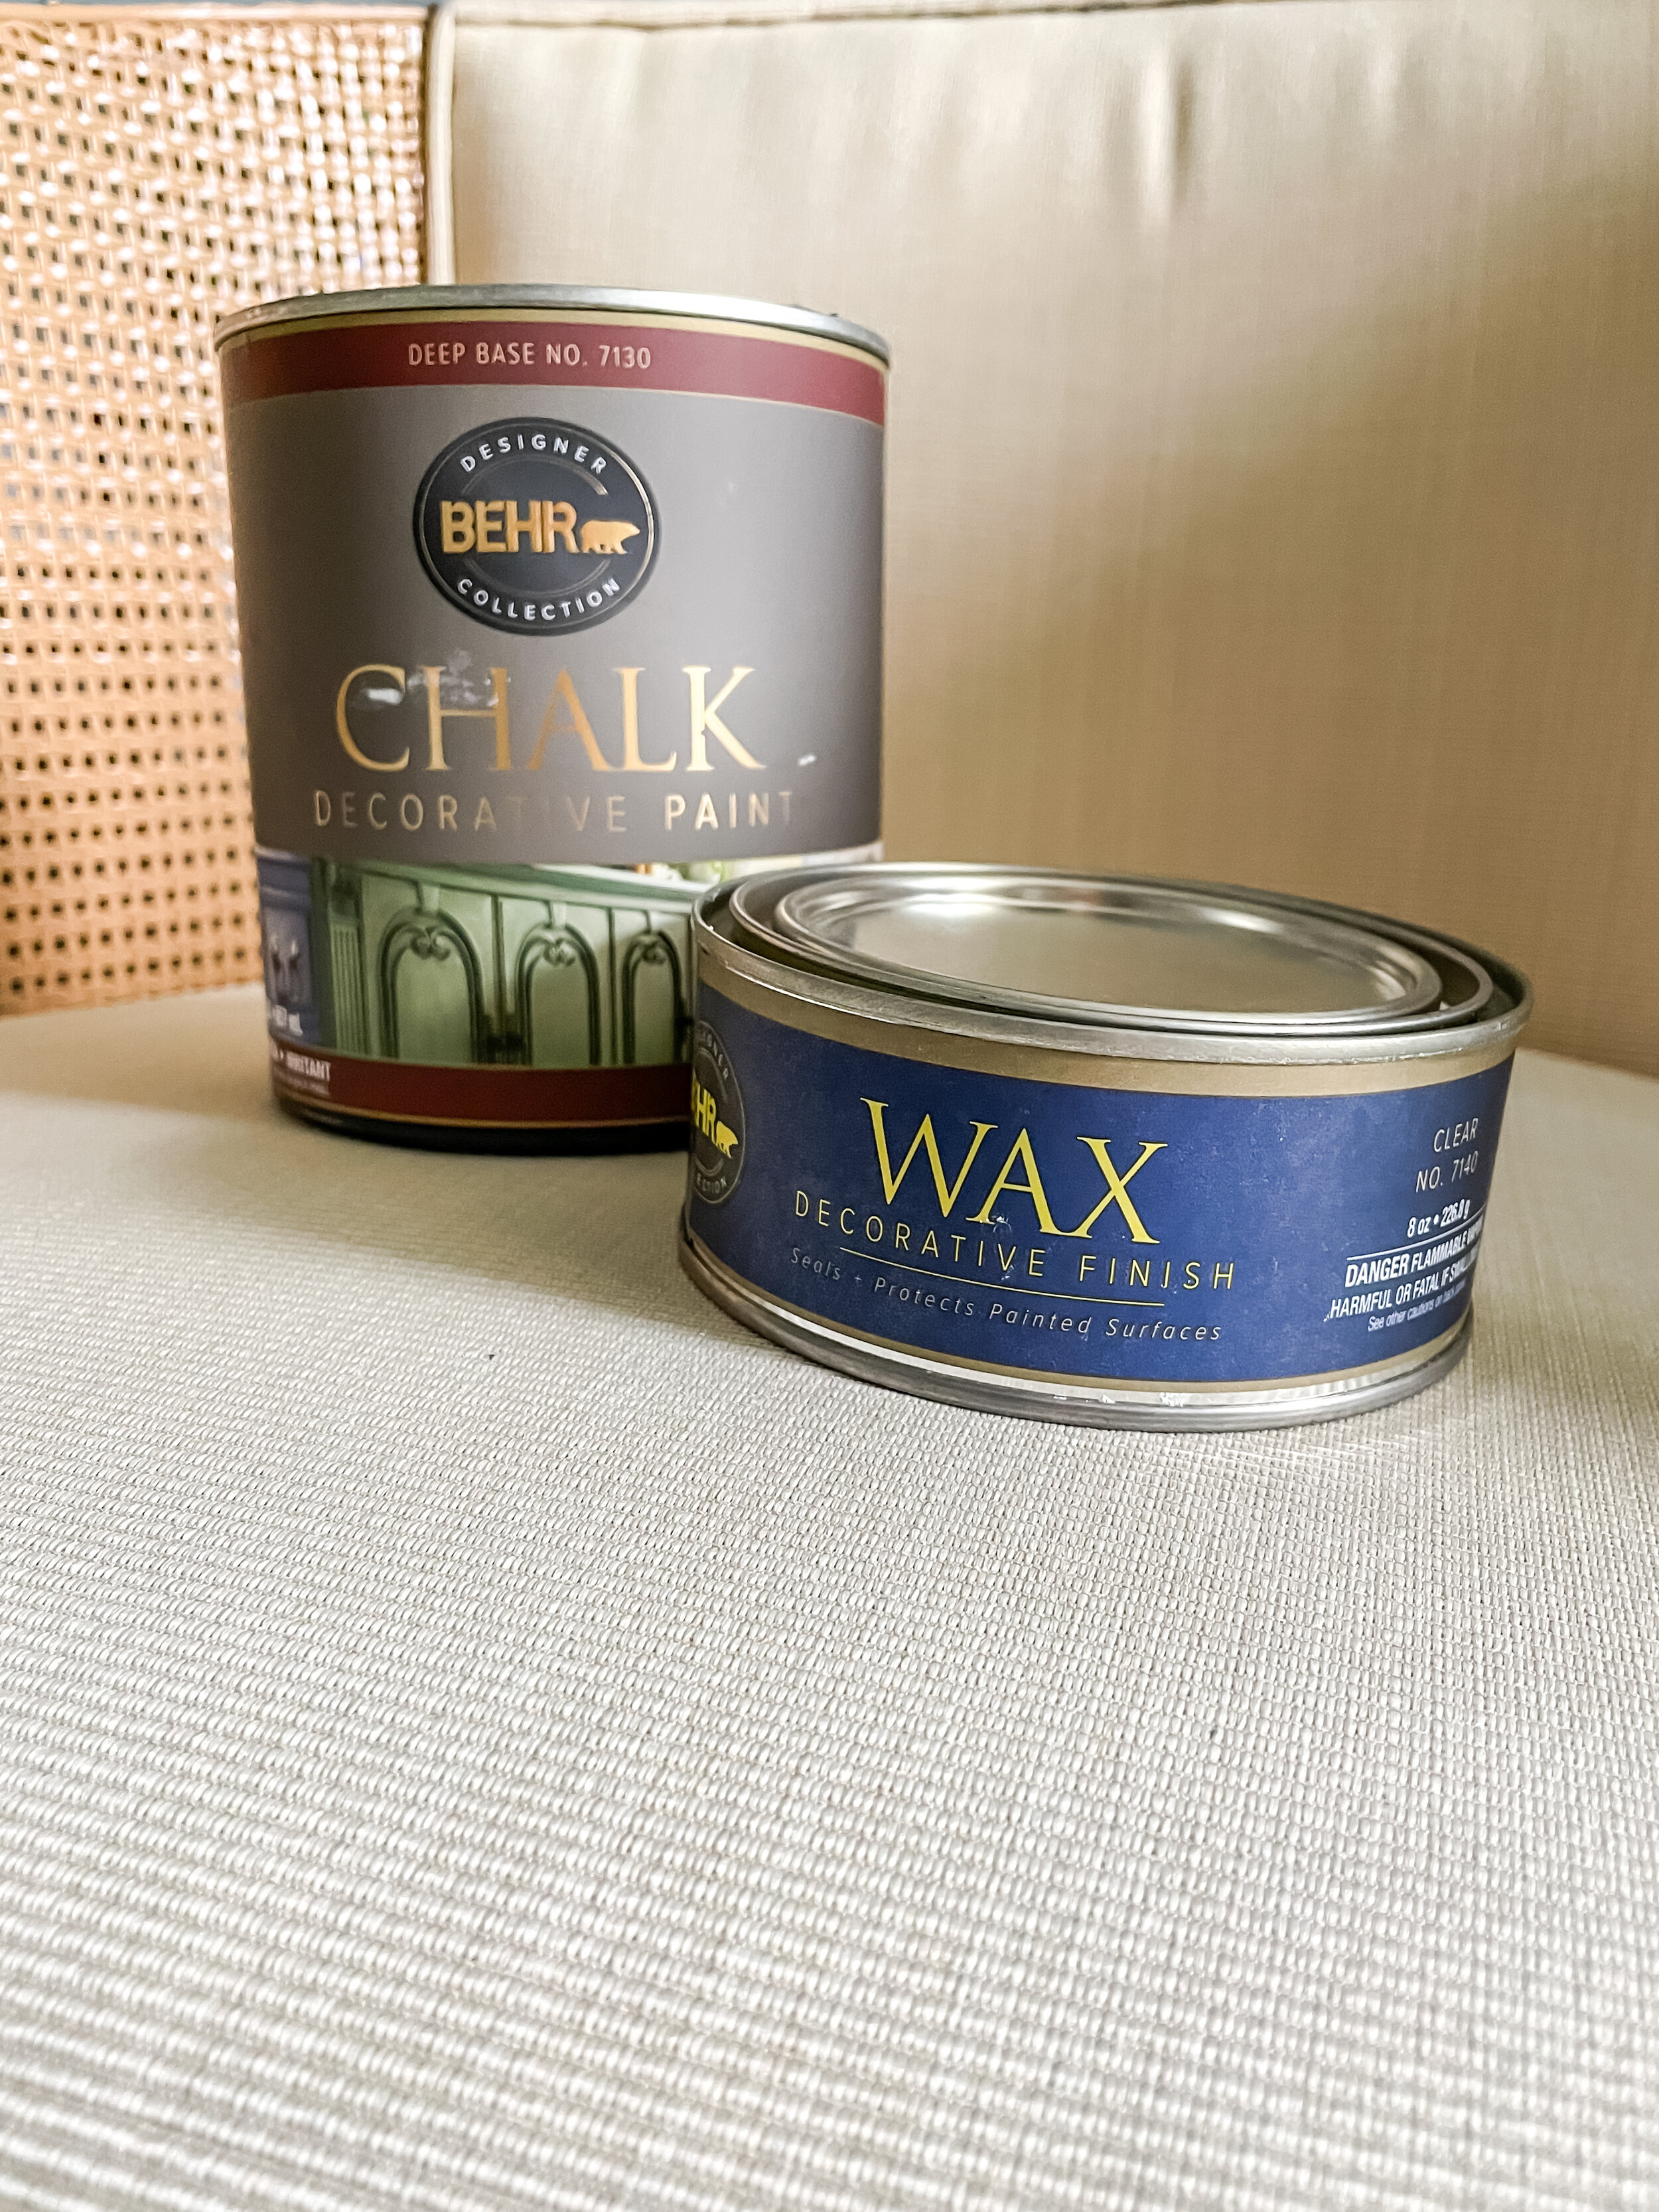
Once the caning was light, it became clear to me what color this chair had to be - Night Owl by Sherwin Williams. I’ve been itching to use this color somewhere in my house and this felt like the perfect application for it. I went to Home Depot and had them mix up a quart of Chalk Paint in Night Owl, and I was off to the races. Did you know Home Depot could mix up paint colors from Sherwin Williams? All they needed was the paint color name! This was my first time trying this and the paint matched the swatch perfectly.
Why chalk paint? I’ve used this chalk paint on a number of projects so far and everything has held up extremely well. I also love the coverage and matte finish it has. The trick to making it durable is sealing it with a clear chalk paint wax.

Here are some things I learned during this project:
Don’t be lazy and do tape off the fabric on your chair! Trust me, it’s not worth the risk.
Have a damp rag with you in order to quickly wipe off any paint that gets on the caning.
Definitely paint the caning first.
Remove the seat of your chair if possible. Mine was just attached with a few screws and was easy to remove and replace when I was finished.

Now excuse me while I go paint everything this color because I’m obsessed!
LET’S BE FRIENDS ON INSTAGRAM!